




Hanging a wooden gate is a sequence, not a single fitting. The posts have to be solid and plumb, the hinges have to...
Latest posts
-
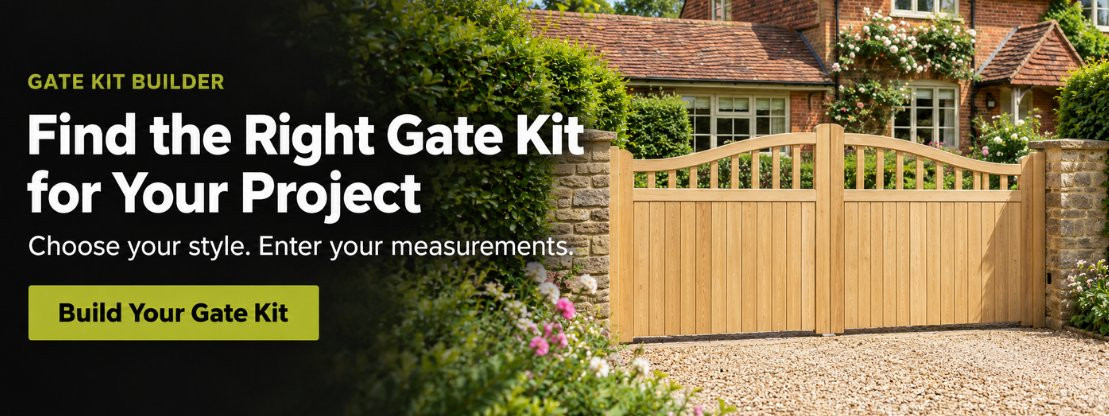 How to hang a wooden gate: posts, hinges and latchesRead more
-
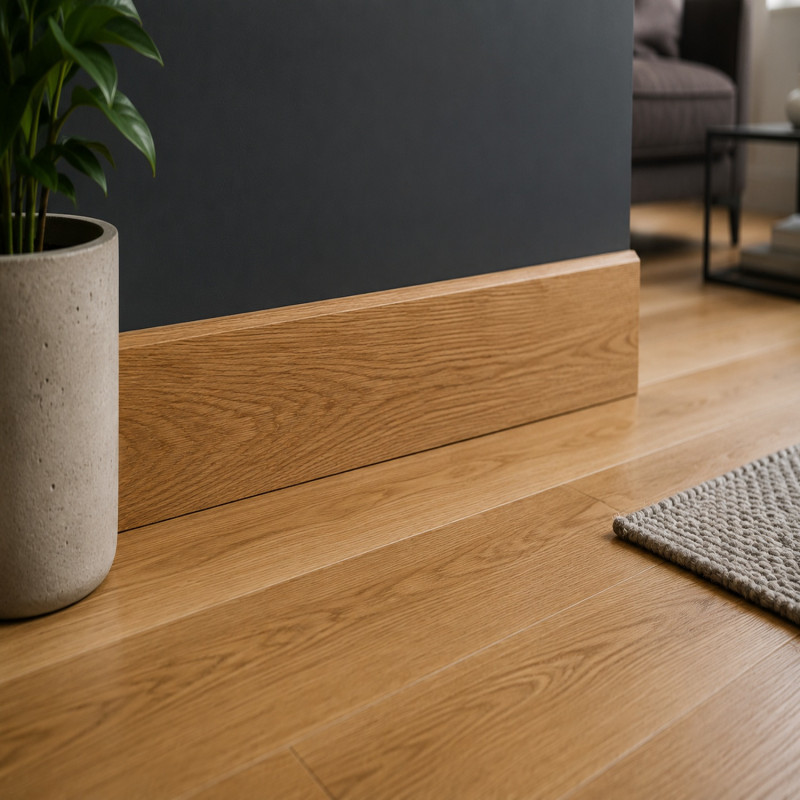 How to Install Skirting Boards: A Step-by-Step GuideRead more
Skirting boards finish a room. They cover the gap where the wall meets the floor, protect the plaster from knocks and...
-
 How to Lay a Solid Wood Floor: A Step-by-Step GuideRead more
A solid wood floor is one of the few things in a home that genuinely gets better with age. Laying one is a very...
-
 How to Plan a Pergola: Sizes, Post Spacing and Planning PermissionRead more
How to plan a pergola: choose pergola sizes, post spacing and supports, and check pergola planning permission rules...
-
 How to Measure for a Bespoke Oak DoorRead more
Learn how to measure for a door step by step, then design made to measure oak doors in our configurator. Sizes,...
-
 FSC® vs PEFC™ Certifications - What Do They Mean?Read more
When you’re choosing timber for your next project, you may notice products labelled with FSC® or PEFC™ certification....
-
 What are sawdust briquettes and are they the right product for your needs?Read more
Discover what Sawdust Briquettes are, how they compare to traditional firewood and whether they’re the right fuel for...
-
 How to Build A Raised Garden Bed: A Beginner's GuideRead more
Learn how to build a raised garden bed with our step-by-step guide. Discover the best timber for raised beds, what...
-
 The Bank Holiday Garden Projects Worth Starting (And the Ones That Can Wait)Read more
If any garden project deserves a place at the top of our 'best bank holiday weekend projects' list, it is surely...
-
 Understanding Timber Grades: What Does It Mean for Your Project?Read more
In our experience in dealing with different kinds of timber and the various grades, we have learned one thing:...
Blog categories
Search in blog
How to hang a wooden gate: posts, hinges and latches
Hanging a wooden gate is a sequence, not a single fitting. The posts have to be solid and plumb, the hinges have to match the gate you are hanging, and the latch has to meet the other leaf or post in the right place. This guide walks through that sequence and points you to the exact hinge, latch, bolt and post you are using.
Plan the opening, the leaves and the compatible fittings in our wooden gate configurator. The calculator is there to help you design and check a wooden gate; the notes below are for hanging the gate you have chosen. We make our wooden gates in our Corby workshops in the Midlands.
UK Timber already has a gate installation page. This article is meant to sit beside that page as the calculator-linked hanging guide, not to replace it. A link back from that page would be a later shop-content job, not part of this draft.
Before you start
First, be clear what you are hanging:
- a single leaf, hinged on one side and latching to a post
- a pair, meeting in the middle
- an unequal or combination pair, where the leaves are different widths
- a pedestrian leaf beside a wider driveway opening
All of the fittings in this guide are for manual gates. If the gate will be powered, automated or connected to an operator, stop and get advice from someone competent in that work. This is not an automation guide.
Wooden gates are heavy, especially boarded driveway leaves and wide field gates. Have enough people to keep the leaf fully supported until every hinge is fixed and checked. If a post moves, leans or was never meant to carry a gate, do not hang from it.
Stop and get site-specific advice if:
- the ground is unusually soft, waterlogged, made-up or likely to heave
- the opening is on a steep slope or the leaves would swing downhill into rising ground
- you cannot confirm that the posts are suitable for the gate
- the gate will see high wind, livestock pressure or vehicle impact beyond an ordinary domestic or farm entrance
Wear gloves and eye protection for digging, drilling and lifting. Look for buried services before you dig.
Gates should be installed within 10 days of delivery; if this is not possible, we recommend that gates are stored laying flat and supported sufficiently. That is the current guidance on our gate installation page.
Measure the opening
Measure the opening the same way the configurator asks you to measure it:
- If you are buying new posts with the gate, the figure to enter is the total space including those new posts.
- If you are hanging between posts you already have, the figure to enter is the clear space between those existing posts.
Also note how level the ground is, whether it rises or falls through the swing, how far each leaf can open before it hits a wall, bank, fence or vehicle path, and the handing — which stile is the hinge stile and which is the meeting stile, seen from the garden side and from the road side.
A pair needs the same checks on both leaves, plus the meeting point in the middle.
The main method is to hang the gate between the posts. That arrangement opens both ways. The gaps to use then are the calculator gaps:
- a single leaf: 10 mm at the hinge side and 10 mm at the latch side
- a pair: 40 mm in total, about 15 mm at each post and 10 mm between the gates
- a pair plus a pedestrian leaf: 70 mm in total
- 50 mm ground clearance, which is the figure the configurator uses when it works out post length
You can instead hang the gate outside the posts (posts in front of or behind the leaves). That arrangement gives more adjustment and opens one way. For that alternative, use the later wording from our gate installation page: hold the gate with a 10 mm clearance from both posts and the central meeting point (either 20 mm total for a single gate or 30 mm for a double), plus ground clearance of 30 mm.
Timber moves with the weather, so those gaps are part of the hanging, not an afterthought. When the opening is measured, plan your wooden gate and fittings so the leaf size and hardware match that opening.
Choose the gate, posts and compatible hardware
The hinge has to suit both the leaf and the way it is built.
Five-bar and other open-rail field gates often take a double-strap hinge set, because the straps sit on the stile and on both faces of the rails. That is a different fitting from a single band on one face. On field and ranch gates, the top hinge is on the top bar, and the bottom hinge is typically 150–300 mm from the bottom.
Half-paled gates are the important exception. The pales stand in the way of a strap crossing both faces of the rails, so the normal compatible hinge is the Cranked Band & Hook on Plate (product 179), not a double-strap set. If you are hanging a half-paled leaf, use that cranked band and hook — do not copy a field-gate double-strap picture.
Boarded driveway and pedestrian leaves may use heavy reversible hinges, cranked bands or, on lighter leaves, tee hinges. A tee hinge is not automatically strong enough for every wooden gate; use the size and type chosen for that leaf. On other driveway gates, two or three hinges are fitted to the ledges where they appear, depending on design and weight.
It also matters whether you are buying a set, a pair or an individual fitting:
- Double-strap products 144, 150, 160 and 163 are sold as sets.
- Heavy reversible hinges (product 145) and tee hinges (product 173) are sold as pairs.
- The cranked band and hook (product 179) and the gate hanger to bolt (product 161) are individual pieces.
The configurator suggests a quantity to buy for the layout you have chosen. That is not a load rating. Use the quantity on your order or configurator list, and ask us if you are unsure. Workshop practice, not a certified load rating: on driveway gates 1,500 mm wide and wider, 3 hinges is best. Narrower than that, 2 hinges is enough.
We have not identified a manufacturer model number for these fittings from the live listings. Use any instructions supplied in the pack. Keep the leaf supported until every hinge is fixed, and do not invent a bolt pattern.
Once you know the hinge family, browse the matching fittings in gate fittings. Product-specific how-tos for each hinge family will follow separately.
Browse current fittings in gate fittings and posts in gate posts. Field and driveway ranges start from 5 bar field gates and driveway gates.
Prepare and set the posts
A wooden gate is only as true as the posts that carry it.
Timber posts. We supply European oak and Douglas Fir gate posts, including integral weathered, pyramid and four-way tops. The top is part of the post, not a separate cap. On a back-weathered post the slope generally faces the road, and height is measured from the top of the weathering (the highest point of the slope). Do not saw the post down to the finished height on site so that you can “use up” extra length. The length you buy is meant to give you the above-ground height plus the buried length. If you need a different finished length, that is a cutting choice at order, not a hanging shortcut.
Use the post length the configurator gives your design. Wooden gate post length follows a rule of about 1.5 times the above-ground height, with bury minimums of 600, 750, 900 or 1,000 mm. Put gravel in the bottom of the hole for drainage. Do not use a set hole width, and do not use a gravel depth figure.
Oak and Douglas Fir posts are supplied untreated. They can be left to weather silver grey, or finished with a suitable exterior oil if you want to keep more of the original colour. We sell Treatex: Treatex UV Oil, Treatex External Virgin Oak Oil for oak, and Treatex Douglas Fir Protection. Follow the tin.
DuraPost®. Our DuraPost gate post (product 256918) is 2400 × 75 × 75 × 3 mm. It is a steel post, not a timber one. Birkdale’s current installation note gives two ways to fit gate hardware: self-drilling screws straight into the post, or a 3×2 timber fixed to the post first and the hardware fixed to the timber. Follow that note for the post, and follow the instructions that come with your fittings.
Before you dig, check for underground services and look at how water sits on the site. Brace each post plumb and do not hang a gate from it until the setting method you are using has done its job.
Postkwik. Postkwik 20kg Grade 1 (product 98, 20 kg bag) is a Homepack dry-mix post concrete that needs water and sets in minutes. Our gate tool, when it offers it, allows one bag for each post you buy from us. That is a buying allowance, not a design for your hole. Read the instructions on the bag, and use more if the hole or the ground needs it.
Workshop practice: Postkwik is solid within an hour. That is not the time to hang a gate. Leave a minimum of 2 days before hanging heavy gates. For very heavy driveway gates, longer is better so it can cure fully, up to a week.
Postkwik is sold on the shop now. It was not in the gate configurator inventory captured on 7 November 2026, so this article does not treat it as something the live calculator already adds.
Postsaver. A Postsaver sleeve or Pro-Wrap & Tack roll protects the post at ground level. Fitting one does not turn an untreated oak or untreated Douglas Fir post into a treated post, and it does not create a Postsaver replacement guarantee on those posts. Postsaver’s guarantee is for correctly applied protectors on timber treated to the use class stated for that product (UC3 or above on our sleeve listing; Use Class 4 on our wrap listing). Follow the manufacturer’s instructions that come with the sleeve or roll, and fit it before the post goes in the ground.
The detailed post, Postkwik and Postsaver steps live in the wooden gate post how-to; DuraPost has its own note.
Set out the hinges and support the leaf
Keep the leaf supported on blocks, trestles or by a second person while you set the hinges out and fix them. A wooden gate that drops while you drive the first fixing can split a stile or start life out of true.
Offer the actual hinges up to the stile and rails they will sit on. Check:
- you have the product and size shown on your order, not a near namesake
- a double-strap set is fitted to the stile and to both faces of the rail
- a cranked band on a half-paled leaf clears the pales
- hook, plate or hanger orientation matches the fitting you bought and any instructions supplied in the pack
Which face the hinges sit on depends on which way the gate will open. Fixed to the inside of the post, the gate will only open to the inside, so the hinges have to be garden side. Fixed to the outside, the gate will only open to the road side, so they have to be fitted roadside. Between posts it is the customer’s choice, probably garden side so the road side keeps clear lines. Do not treat garden-side as the only fitting.
Follow any instructions supplied with that product. Keep the leaf supported until every hinge is fixed, and do not invent a bolt pattern.
Hang and align the gate
With the leaf still supported, offer it to the post at the planned gaps and height. For a pair, set both leaves so they meet evenly and the garden-side latch can span the meeting stiles.
Check that the gate opens the way you intended and that it does not drag or bind at any point in the swing. Only remove the temporary support when the hinges are fully fixed and the leaf hangs from them, not from you.
If the hinge is an adjustable pattern, use the adjustment that belongs to that model (adjustable hooks on product 150 are not the same arrangement as the adjustable gate eye on products 160 and 163). There is no single winding method that covers every set we sell.
Fit the latch, catch or bolt
Fit the latch or catch you actually have. A ring latch, a Suffolk latch, a morticed latch, a central closing latch and a throwover loop are not interchangeable recipes.
On a pair, a garden-side latch bar should run across the meeting gap and engage the other leaf. Do not stop the bar in mid-air. A throwover loop (product 153) is different: it drops over the tops of both meeting stiles.
The configurator can add our Garage Door Drop Bolt (product 152) as a drop bolt for a pair of wooden gates. The calculator leaves the drop bolt selectable, so you may buy only one. The suggestion is one per leaf; it is not mandatory to buy two. A hole slightly oversized to the drop bolt, in concrete or in solid ground, is normally enough for the bolt to drop into. Do not form a Postkwik socket, and do not use an exact hole diameter. A Brenton padbolt (product 174) is a horizontal bolt into a keeper and is not a drop bolt by another name.
For double gates, our existing gate installation page mentions a metal or timber centre stop in the ground at the meeting point, to limit over-swing and help the latch line up. We do not currently sell a matching stop in the configurator; treat that as a general check, not as a product to add from this article.
Use the latch and bolt how-tos for the product-specific notes, and use any template or instructions supplied with the product. Do not invent mortice, hole or keeper sizes.
Check the operation and finish
Work through the gate by hand:
- the leaf swings freely without dragging
- the latch or catch fully engages and releases from the side you will use
- a drop bolt or padbolt shoots and withdraws cleanly
- posts have not been pulled out of plumb by the hanging
Timber will keep moving a little as it wets and dries. That is normal. Adjustable hinges exist for later packing or winding; they are not a reason to hang a gate on a loose post.
Oak and Douglas Fir gates and posts can be left unfinished to weather silver grey, or finished with a suitable exterior oil if you want to hold the colour for longer. See the Treatex products linked above, and follow the tin.
If something is wrong, stop
- The gate rubs or will not close. Check that the posts are still plumb, the leaf is not catching rising ground, and the meeting gaps are even. Use the hinge’s own adjustment if it has one. Do not force a binding leaf.
- The latch does not catch. On a pair, check that the bar actually reaches the other leaf. On a single leaf, check the keeper position against the latch you fitted.
- A post moves when you swing the gate. Take the leaf back off and deal with the foundation. Hanging harder will not fix a moving post.
- The fitting is clearly the wrong pattern — a double strap ordered for a half-paled leaf, or a light tee hinge on a heavy boarded pair. Use the compatible fitting rather than adapting the wrong one.
This is not a structural-repair guide. If a stile is split, a weld or casting is cracked, or the posts were never specified for a gate, get help before you continue.
Design your wooden gate
When you are ready to size the leaves and choose compatible posts and fittings, design your wooden gate in the wooden gate configurator.
For fence posts rather than gate posts, we have a separate article, How deep should a fence post be set?. That page is about fence posts, not the foundation for a wooden gate.
Frequently asked questions
Can I hang a pair the same way as a single gate? The hanging sequence is the same — support, set out, fix, then latch — but a pair also has to meet in the middle. The garden-side latch needs to span both leaves, unless you are using a throwover loop over the stile tops.
What hinges does a half-paled wooden gate need? Use the cranked band and hook on plate (product 179). A double-strap set needs both faces of the rails, and the pales get in the way.
What is the difference between a hinge set and a pair of hinges? A double-strap set is sold as the matching top and bottom bands with their hooks or plates. Heavy reversible and tee hinges are sold as pairs. A cranked band and hook is sold as an individual fitting.
Is one bag of Postkwik enough for every gate post? When our gate tool offers Postkwik, it allows one bag for each post you buy from us. That is a buying allowance, not a design for your hole. Follow the instructions on the bag and use more if the hole or the ground needs it. Postkwik is in the shop now; it is not treated here as something the live calculator already adds. In our workshop it is solid within an hour, but that is not the time to hang a gate. Leave a minimum of 2 days before hanging heavy gates, and up to a week for very heavy driveway gates.
Related posts
-
How to Build A Raised Garden Bed: A Beginner's Guide
Read more
-
What are sawdust briquettes and are they the right product for your needs?
Read more
-
FSC® vs PEFC™ Certifications - What Do They Mean?
Read more
-
How to Measure for a Bespoke Oak Door
Read more
-
How to Plan a Pergola: Sizes, Post Spacing and Planning Permission
Read more