


.jpg)



A solid wood floor is one of the few things in a home that genuinely gets better with age. Laying one is a very...
Latest posts
-
 How to Lay a Solid Wood Floor: A Step-by-Step GuideRead more
-
 How to Plan a Pergola: Sizes, Post Spacing and Planning PermissionRead more
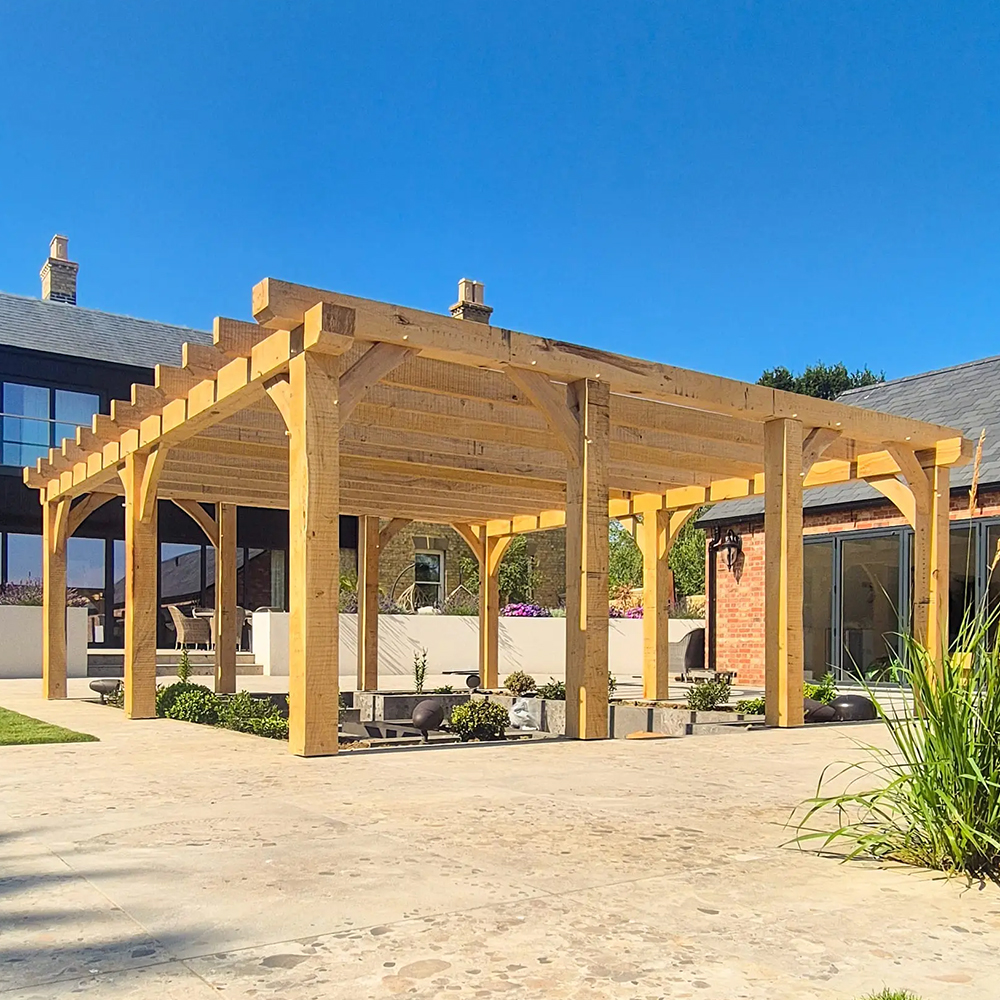
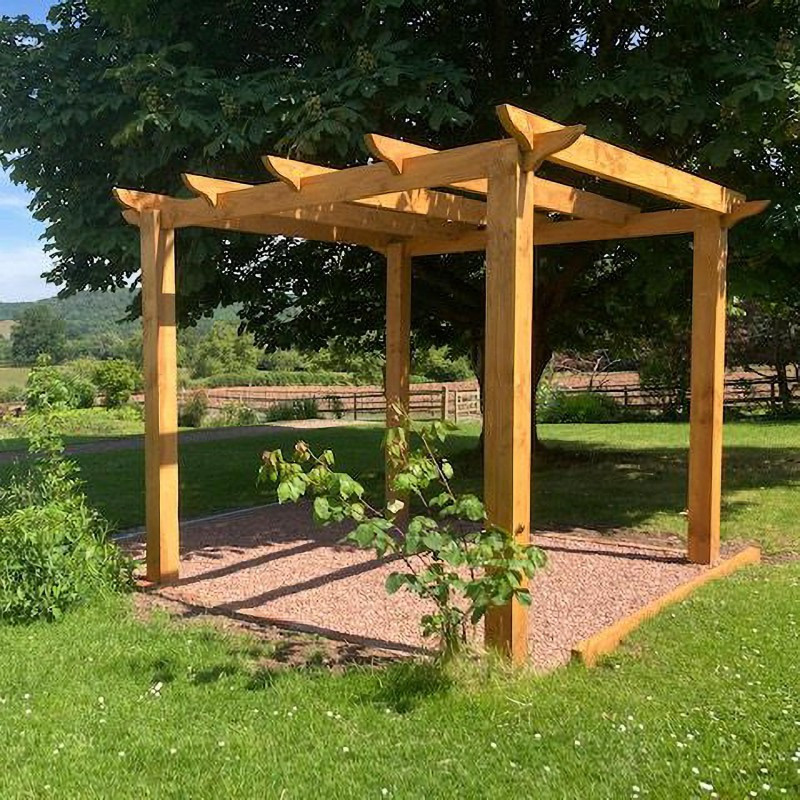
How to plan a pergola: choose pergola sizes, post spacing and supports, and check pergola planning permission rules...
-
 How to Measure for a Bespoke Oak DoorRead more
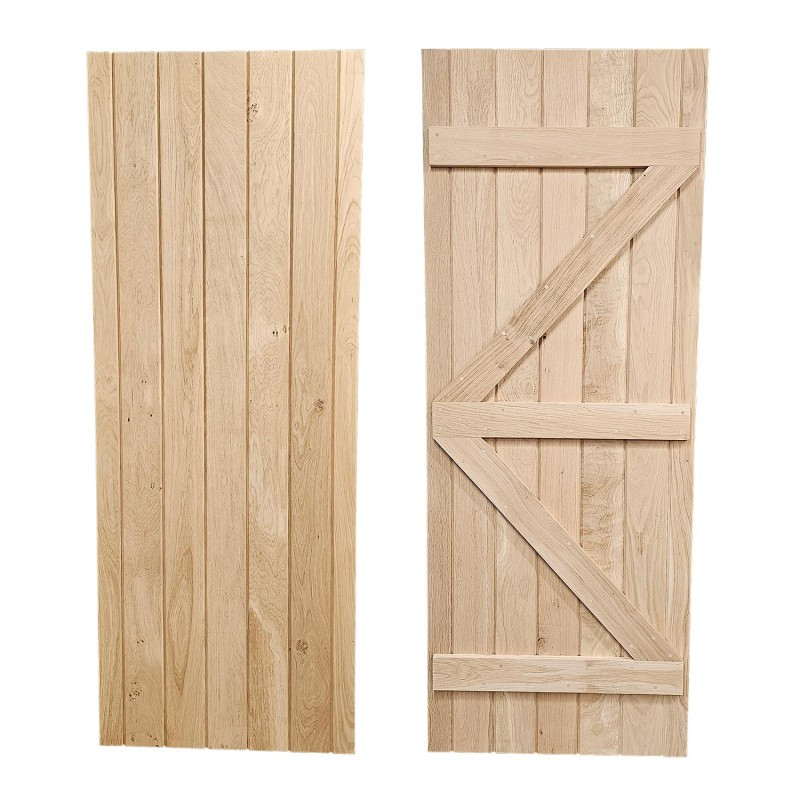
Learn how to measure for a door step by step, then design made to measure oak doors in our configurator. Sizes,...
-
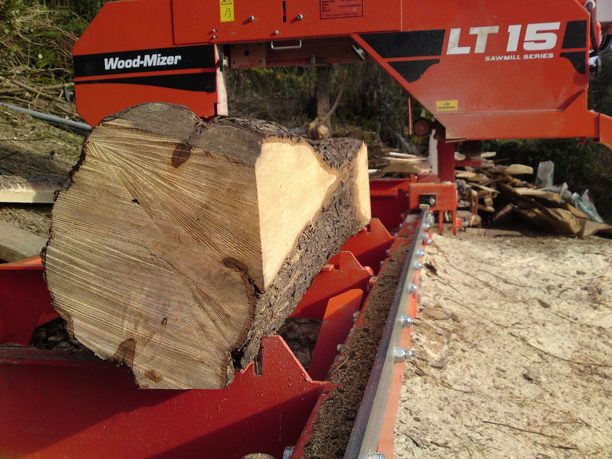 FSC® vs PEFC™ Certifications - What Do They Mean?Read more
When you’re choosing timber for your next project, you may notice products labelled with FSC® or PEFC™ certification....
-
 What are sawdust briquettes and are they the right product for your needs?Read more
Discover what Sawdust Briquettes are, how they compare to traditional firewood and whether they’re the right fuel for...
-
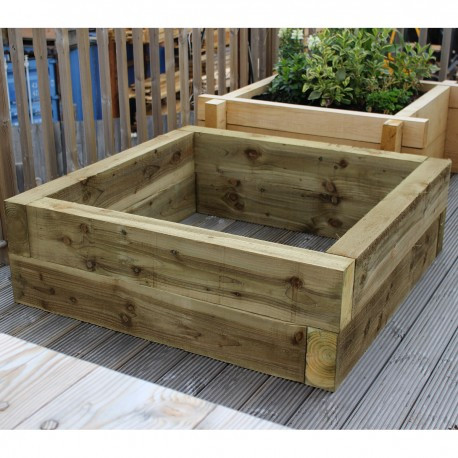 How to Build A Raised Garden Bed: A Beginner's GuideRead more
Learn how to build a raised garden bed with our step-by-step guide. Discover the best timber for raised beds, what...
-
 The Bank Holiday Garden Projects Worth Starting (And the Ones That Can Wait)Read more
If any garden project deserves a place at the top of our 'best bank holiday weekend projects' list, it is surely...
-
 Understanding Timber Grades: What Does It Mean for Your Project?Read more
In our experience in dealing with different kinds of timber and the various grades, we have learned one thing:...
-
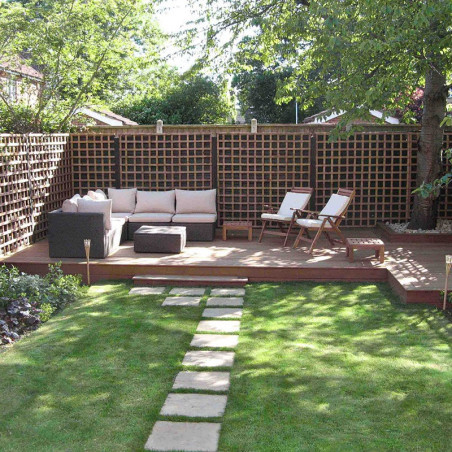 Planning Your Garden Projects: What to Tackle First This SpringRead more
After over 100 years in the timber trade, we've picked up a few key things. One thing we've learned is the sequence...
-
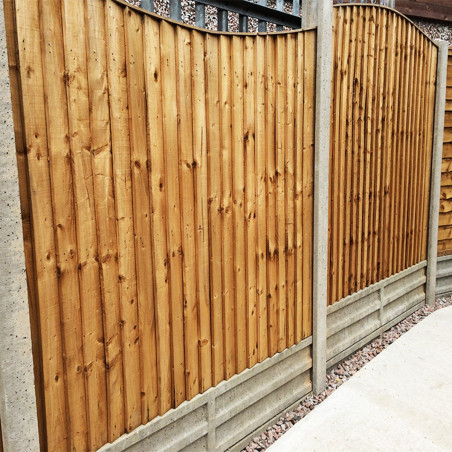 Why Concrete Fence Posts Last 50+ Years (And When They're Worth It)Read more
a concrete fence post installed today will still be standing strong in fifty years, and probably longer. We've seen...
Blog categories
Search in blog
How to Lay a Solid Wood Floor: A Step-by-Step Guide
A solid wood floor is one of the few things in a home that genuinely gets better with age. Laying one is a very achievable job for a confident DIYer, as long as you choose the right board for your subfloor and take your time with the preparation. This guide shows you how to lay solid wood flooring step by step, using our solid European oak flooring as the example.
What you will need
- Your floorboards, plus matching skirting and beading
- A tape measure, pencil, spirit level and long straight edge
- A mitre saw or circular saw, and a jigsaw for awkward cuts
- A flooring pull bar, a tapping block and a rubber mallet
- Spacers for the expansion gap
- Your fixings: flooring nails or a secret nailer, or adhesive
Step-by-step: how to lay a solid wood floor
1. Choose the right board for your subfloor
The thickness of the board decides where you can lay it. Our Prestige 22mm Solid European Oak Flooring and Priory 19mm Solid European Oak Flooring can both be laid straight onto floor joists. Prestige is our top of the range board, machined from 32 mm kiln dried boards, and its extra depth adds rigidity and acoustic and thermal potential. The shallower PraktiPlank 16mm Solid European Oak Flooring is ideal for laying over an existing floor, but it is not suitable for laying straight onto joists. Prestige and Priory are both fine on standard joist centres.
2. Pick your grade with a sample
Oak is a natural product, so no two floors look the same. Our boards come in Prime, Select, Character and Tavern grades, with open or filled knots depending on the grade. The easiest way to choose is to order a solid European oak flooring sample and look at it in your own room, in daylight and at night. Fancy something different? We also make American white oak and English ash flooring.
3. Measure up and work out how much you need
Measure the length and width of each room at its widest points and multiply them to get the area in square metres. Add the areas of any alcoves and bay windows. Our flooring is priced per square metre (m²), and it comes in random lengths between 800 mm and 3500 mm, so add 10% to your total to allow for cutting and offcuts.
4. Let the boards acclimatise
Solid timber takes up and gives off moisture as the temperature and humidity in your home change. Once the boards arrive, bring them into the room where they will be laid and leave them there. The longer you leave them to acclimatise, the less prone to movement they will be once fitted. We recommend four weeks; if that isn't possible, leave them as long as you can. Make sure the room is at its normal living conditions, with plastering and screeds fully dry, before the boards go in.
5. Prepare the subfloor
Whatever you are laying onto must be sound, clean, dry and flat. On joists, check that every joist is secure and level, and pack or plane any that sit high or low. On an existing floor, screw down any loose or squeaky boards and sweep up thoroughly. Deal with any dips or humps now, because they will show through later.
Then choose your fixing method. Secret nailing, gluing and floating can all work, depending on your subfloor; secret nailing is the most durable.
6. Plan the layout
Decide which way the boards will run. When laying onto joists, the boards must run across the joists. Otherwise, boards usually look best running towards the main window or along the longest wall. Start along the straightest, longest wall, and measure the room's width to check that your last row will not end up as a thin sliver. If it would, trim the first row to balance the two.
7. Leave an expansion gap
Solid wood moves slightly through the seasons, so leave a gap around the whole edge of the room, and around pipes, door frames and thresholds. Use spacers to keep it even; skirting or beading hides it later. Around 10 mm at the wall edges is usually enough; the skirting covers it, so the boards can expand and contract with the seasons.
8. Lay the first rows
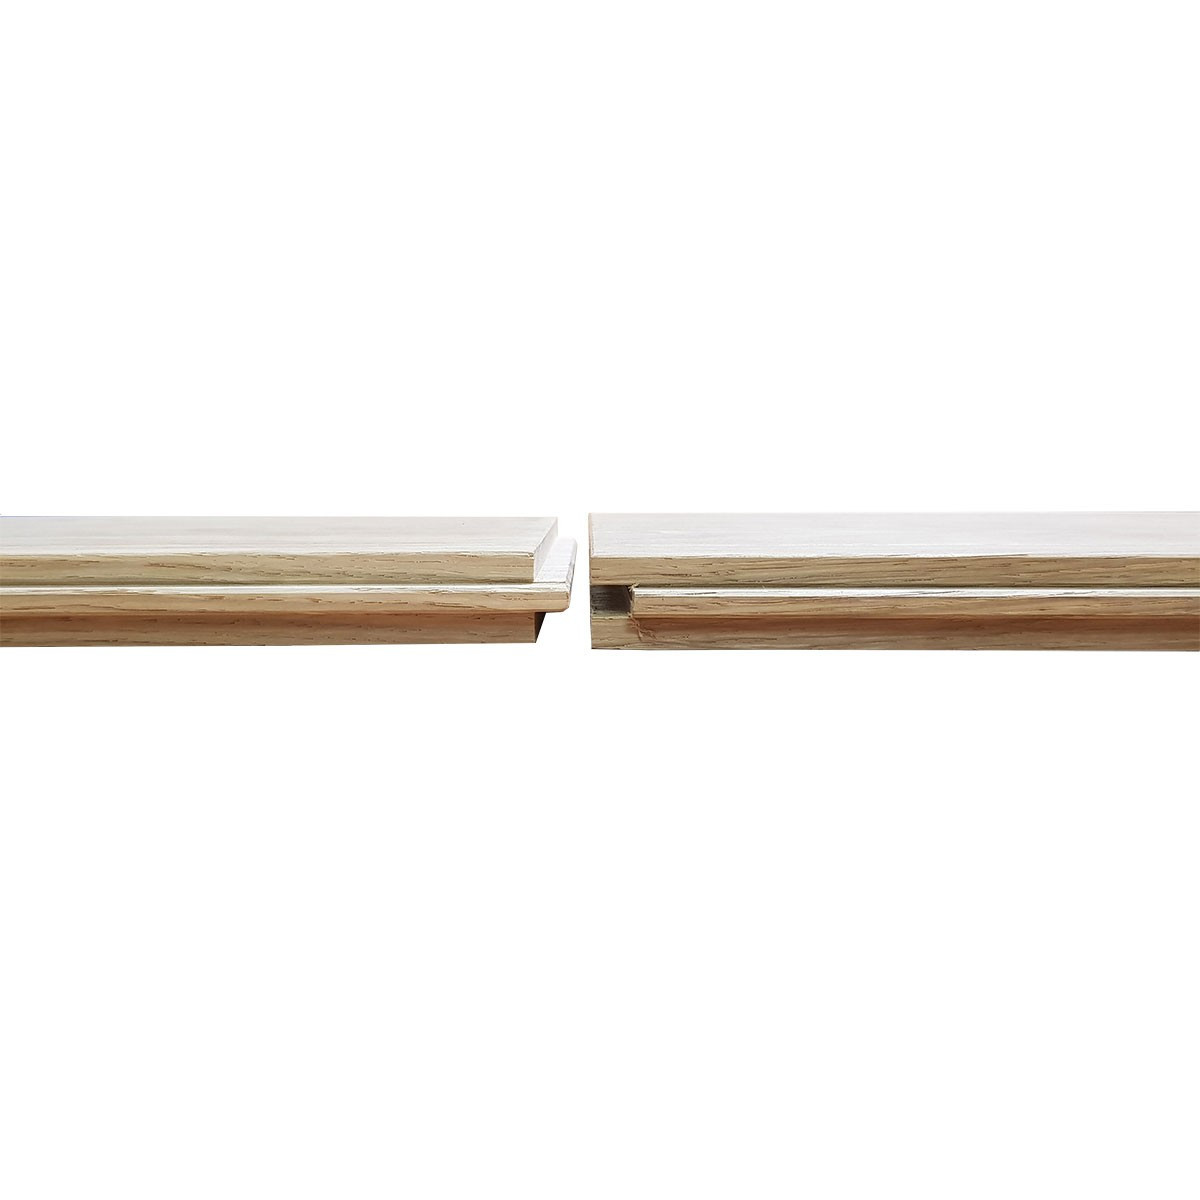
Lay the first board with its groove towards the wall and the spacers in place. Our boards are tongue and groove all round, with the ends matched, so each board locks to its neighbours on all four sides. Fix the first row carefully, checking it is dead straight, because every row after it follows this line. Then work across the room, tapping each board home with the tapping block, never straight onto the tongue.
9. Stagger the joints
Spread the end joints so they do not line up from one row to the next. Random lengths make this easy, and mixing boards from several packs spreads the colour and grain evenly.
10. Fit the last row, skirting and beading
Measure and rip the last row to width, remembering the expansion gap, and use the pull bar to draw it tight. Remove the spacers, then fit Solid European Oak Skirting Board or finish the edge with Solid European Oak Scotia Beading or Solid European Oak Quadrant Beading. Fix skirting and beading to the wall, not the floor, so the boards can still move.
11. Finish the floor
Our floorboards are purposely supplied unfinished, ready to be personalised once fitted. They have a planed finish, so sanding is not normally necessary. Give the floor a good vacuum, then apply a hardwax oil such as Treatex Hardwax Oil Ultra - Clear Oil, or choose a colour from our wood floor finishes, following the instructions on the tin.
Tips for a better floor
- Order everything at once. Boards, skirting and beading cut from the same oak give a cohesive look throughout the room.
- Mind the doors. Check that doors will clear the new floor height, and trim them if needed before you start.
- Need set lengths? We can supply set lengths for an extra charge of £15 ex VAT per m² for lengths up to 2400 mm, or £20 ex VAT per m² over 2400 mm.
Frequently asked questions
Can solid oak flooring be laid straight onto joists? Yes. Our Prestige 22mm and Priory 19mm solid European oak flooring can both be laid directly onto floor joists. Lay the boards across the joists.
Which flooring is best over an existing floor? Our PraktiPlank 16mm Solid European Oak Flooring is a shallower board that is ideal for laying on existing flooring.
Does the flooring come finished? No. Our boards are purposely supplied unfinished so you can choose your own finish once they are fitted. Sanding is not normally necessary.
What lengths do the boards come in? Random lengths between 800 mm and 3500 mm. Set lengths are available for an extra charge.
Can I lay solid oak flooring over underfloor heating? We don't recommend solid oak flooring over underfloor heating; engineered oak flooring is the better choice. Our 22mm flooring has been used successfully over underfloor heating, but we don't recommend it.
Do you deliver? Yes. Delivery is free on flooring and door orders of £500 and over to most UK mainland addresses.
Ready to start your floor?
Order a sample to choose your grade, then browse our full range of solid hardwood flooring or go straight to solid European oak flooring. Every board is made to order at our own mill, and the matching skirting, architrave and flooring accessories complete the room. Questions? Call our team on 01536 267107.
Related posts
-
How to Build A Raised Garden Bed: A Beginner's Guide
Read more
-
What are sawdust briquettes and are they the right product for your needs?
Read more
-
FSC® vs PEFC™ Certifications - What Do They Mean?
Read more
-
How to Measure for a Bespoke Oak Door
Read more
-
How to Plan a Pergola: Sizes, Post Spacing and Planning Permission
Read more