







When you’re choosing timber for your next project, you may notice products labelled with FSC® or PEFC™ certification....
Latest posts
-
 FSC® vs PEFC™ Certifications - What Do They Mean?Read more
 -
 What are sawdust briquettes and are they the right product for your needs?Read more
Discover what Sawdust Briquettes are, how they compare to traditional firewood and whether they’re the right fuel for...
-
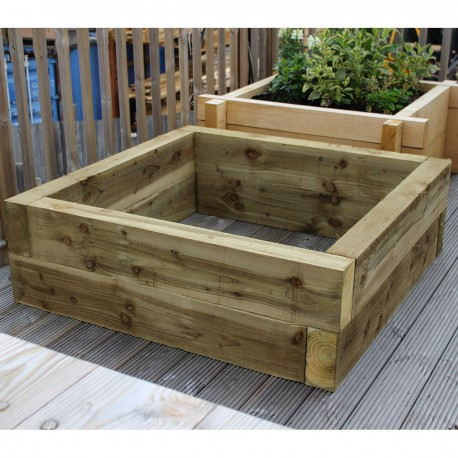 How to Build A Raised Garden Bed: A Beginner's GuideRead more
Learn how to build a raised garden bed with our step-by-step guide. Discover the best timber for raised beds, what...
-
 The Bank Holiday Garden Projects Worth Starting (And the Ones That Can Wait)Read more
If any garden project deserves a place at the top of our 'best bank holiday weekend projects' list, it is surely...
-
 Understanding Timber Grades: What Does It Mean for Your Project?Read more
In our experience in dealing with different kinds of timber and the various grades, we have learned one thing:...
-
 Planning Your Garden Projects: What to Tackle First This SpringRead more
After over 100 years in the timber trade, we've picked up a few key things. One thing we've learned is the sequence...
-
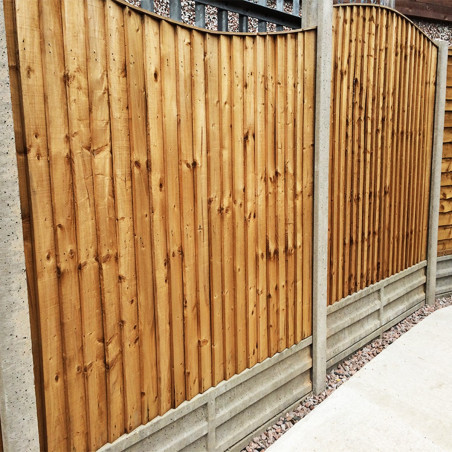 Why Concrete Fence Posts Last 50+ Years (And When They're Worth It)Read more
a concrete fence post installed today will still be standing strong in fifty years, and probably longer. We've seen...
-
 Why Solid Oak Doors Keep Your Home Warmer This WinterRead more
After over 100 years manufacturing timber products in our workshop, we've learned something that most homeowners...
-
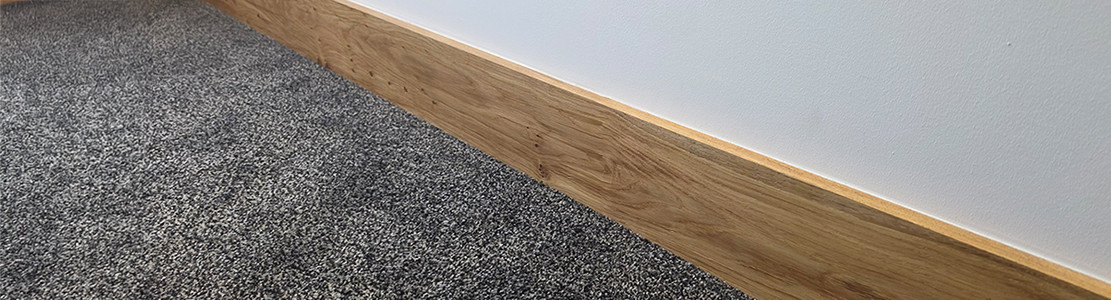 Should You Paint Skirting Boards Before Walls?Read more
The short version? Paint your walls first, then the skirting. But like most things in our trade, the devil's in the...
-
 What are Landscaping Screws?Read more
A typical landscaping screw has a polymer and/or ceramic coating that can withstand the weather in Britain longer...
Blog categories
Search in blog
How to Build A Raised Garden Bed: A Beginner's Guide
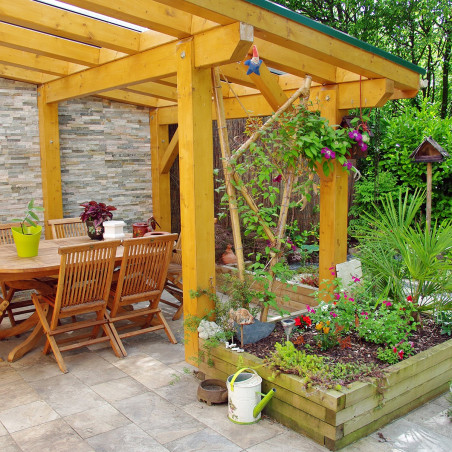
Raised garden beds have become one of the most popular ways to grow flowers, herbs, fruit and vegetables in gardens. Whether it’s a vegetable patch, making gardening more accessible or simply adding structure to your garden, railway sleeper raised beds are a practical and attractive solution.
Raised beds can be a straightforward DIY project, even if you’ve never worked with timber wood before. With the correct materials and some planning, you can create a durable raised bed that will provide years of growing space.
In this guide, we will break down what you need to know about raised garden beds, the best timber to use for them, any tools you’d need and how to prepare the garden bed for planting.
Why choose a raised garden bed?
Raised garden beds offer several advantages over traditional in-ground planting, making them an excellent choice of both beginner and seasoned gardeners.
Some of the benefits include:
- Improved drainage for healthier plants
- Better soil quality and management
- Reduced weed growth
- Improved pest control
- Longer growing season thanks to warmer soil
- More aesthetic and organised appearance that adds to the allure of the garden
- Easier access to the vegetation without straining your body
What timber is best for raised garden beds?
Choosing the right timber for your garden beds is one of the most important decisions when it comes to planning.
Treated Softwood Sleepers
Pressure-treated timber sleepers are one of the most popular choices thanks to their durability, affordability and long lifespan. The Tanalith E treatment is chemical-free and is great for use around children, pets and vegetation. They’re ideal for vegetable gardens, boarders and landscaping projects.
Untreated Oak Sleepers
For a premium finish, Untreated Oak Sleepers provide exceptional strength and longevity, with a stunning natural appearance with a strong grain. Oak weathers to a silver-grey colour over time, making it perfect for high-end landscaping projects, whether contemporary or classic.
British Larch/Douglas Fir Sleepers
Much like the pressure-treated sleepers, these British Larch/Douglas Fir sleepers are affordable and naturally durable without the need for any treatment. Perfect for landscaping projects on a tighter budget, they too fade to a silver grey colour as they weather in the sun, with the option for UV Oiling and Douglas Fir protection to preserve their natural reddish/orange hue.
Raised Bed Kits
If you’d rather take away the extra work of measuring, cutting and machining, we offer pre-cut raised bed kits in treated and untreated sleepers as a simple solution. These kits come in a range of different dimensions, with options for multiple tiers, with easy assembly.
What you’ll need to put together your raised bed kit
Before you begin, you should gather the following:
Materials
- Timber sleepers
- Timber screws or landscaping screws
- Weed membrane (if required)
- Topsoil
- Compost
- Decorative bark or mulch (if required)
Tools
- Tape measure
- Drill or impact driver
- Saw (if cutting timber down)
- Safety gloves
- Spade
Step 1: Choose the right location
Most vegetables and plants thrive in a sunny location.
Choose an area that:
- Receives optimum sun coverage throughout the day
- Has good drainage
- Is relatively level
- Easy to access for watering and maintenance
Avoid areas directly beneath large trees, as roots may compete for nutrients and moisture.
Step 2: Decide on the size of your raised bed
Building your own raised bed means that you can choose dimensions that suit your garden! Not sure what you need? No problem, as a general guide:
- Width: 1.2m is ideal, allowing easy access from both sides
- Height: 200-450mm suits most vegetables to allow for ample soil and space for them to grow
- Length: can be tailored to your available space and intended look, you can have one long bed or multiple for different vegetation and flowers.
Avoid making your raised beds too wide as this will make reaching the center difficult without having to step into the soil.
Step 3: Prepare the ground
Remove any weeds, grass or large stones from the area.
If required, level the ground before positioning your timber.
Many people choose to lay a weed membrane underneath to help suppress future weed growth while still allowing water to drain naturally.
Step 4: Assemble the raised bed
If using a raised bed kit, use the supplied instructions.
If you’re building the beds from scratch using wooden sleepers:
- Position the sleepers
- Check the cuts at the end are square and fit against each other
- Drill the pilot holes
- Secure using suitable landscaping screws
- Double-check everything is level before tightening into place.
The stronger and more level the frame, the longer the raised beds will last.
Step 5: Fill your raised garden bed
There are several options for filling your raised bed depending on the depth and its use. You can use:
- Cardboard to suppress weeds
- Small branches and twigs
- Leaves
- Compost
- High-quality topsoil
What can you grown in a raised garden bed?
Having a raised bed comes with a multitude of options for usage.
Some of the most popular choices include:
Vegetables:
- Carrots
- Lettuce
- Potatoes
- Beetroot
- Onions
- Tomatoes
Herbs:
- Basil
- Rosemary
- Mint
- Thyme
- Dill
- Chives
Flowers:
- Lavender
- Marigolds
- Cosmos
- Dahlias
How long do timber raised beds last?
The lifespan of raised beds depends on the timber used. Whilst pressure-treated softwood sleepers provide many years of use when maintained, Oak sleepers offer a classic look with exceptional durability at a higher price range.
Regular cleaning and checking of fixings to allow for adequate drainage