
.jpg)


Step-by-Step Installation Procedure
Plan and Prepare the Site
Measure the Opening: Confirm the gate width and ensure the gap between posts allows for clearance (typically 10-20mm total for double gates, split evenly). Avoid installing gates between posts wherever possible, as this limits hinge adjustability critical for natural timber movement.
Check Ground Conditions: Ensure the ground is level or slightly sloped for proper gate swing in the desired direction (frontways or backwards). Clear debris, rocks, or roots from the area.
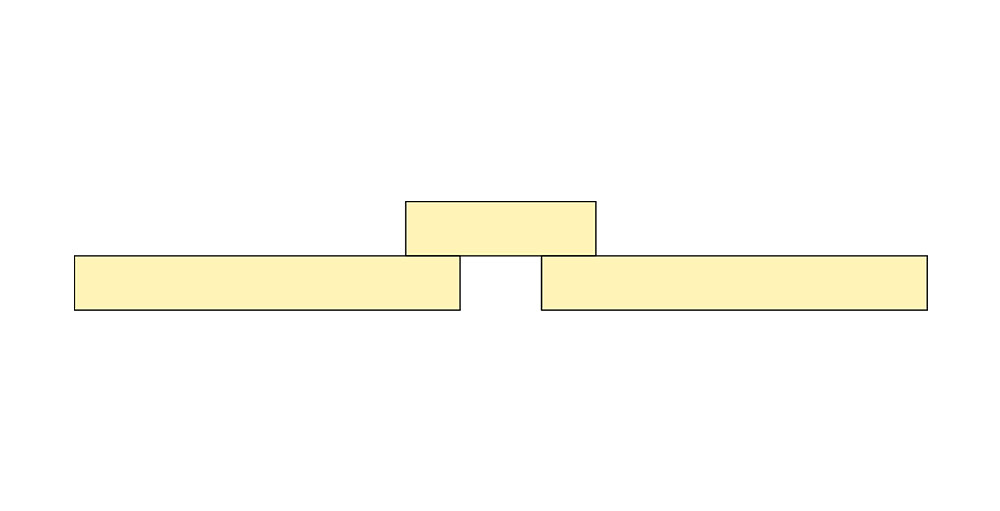
Mark Post Locations: Decide whether gates will open frontways (toward the approach) or backwards (away from the approach). Position posts either in front of or behind the gates to allow the desired swing direction while maintaining hinge adjustability. Mark post positions to align with the gate’s swing path, ensuring hinges can be adjusted for natural timber movement. Avoid between-post installation to preserve adjustability; if unavoidable due to site constraints, accept potential limitations in adjustment.
Install Gate Posts
Dig Post Holes: Dig holes approximately 1/3 the length of the post (e.g., 600-900mm deep for 1.8m posts), ensuring a width of about 300mm for stability.
Add Drainage Base: Place 100mm of gravel at the bottom of each hole for drainage.
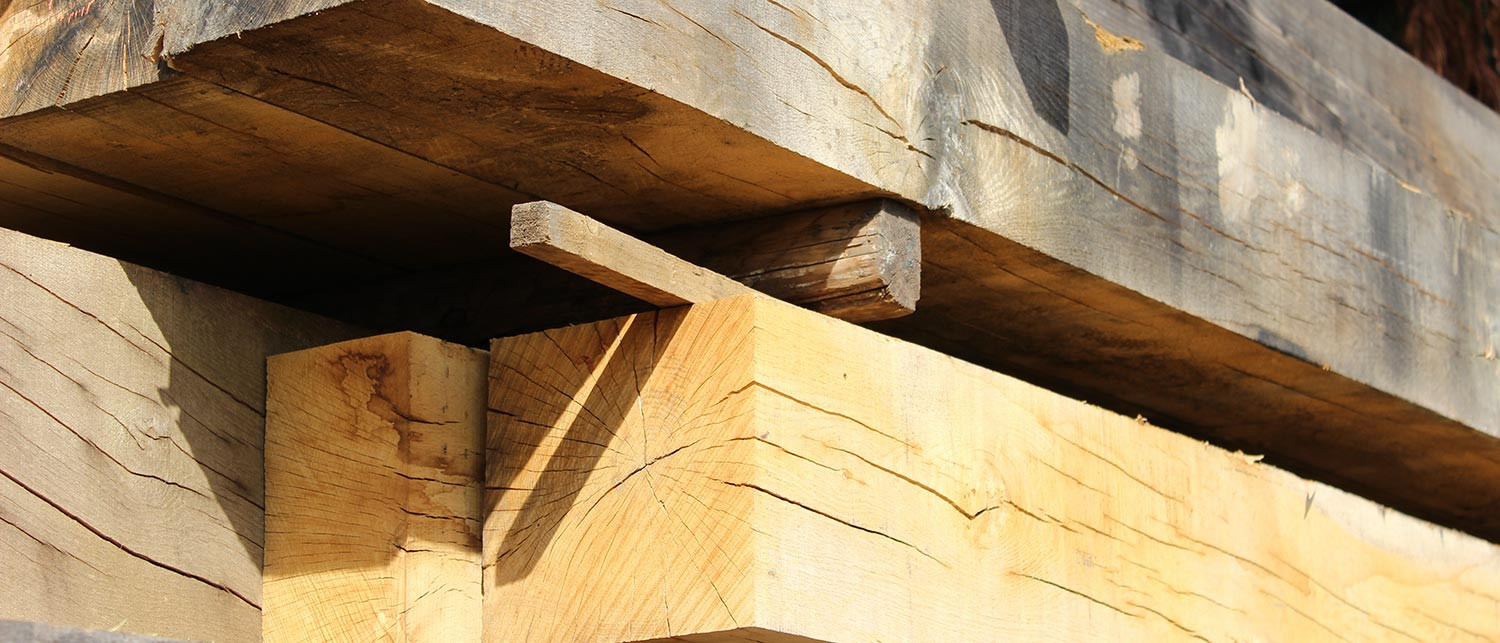
Set Posts: Position posts in the holes, ensuring they are plumb using a spirit level. Brace posts temporarily with stakes or supports. Avoid placing gates between posts, as this restricts hinge adjustments needed for timber movement.
Set with PostKwik: Fill holes with PostKwik fast-drying concrete, leaving 50-100mm below ground level to cover with soil later. Slope the surface slightly to divert water. Allow PostKwik fast-drying concrete to cure (follow manufacturer’s instructions, typically 5-30 minutes for initial set).
Hang the Gates
Attach Hinges to Gates: Secure adjustable hinges to the gate’s vertical stiles, typically 150-300mm from the top and bottom. Ensure screws are driven into solid timber (pre-drill to prevent splitting). Position hinges on the appropriate side of the gate to match the swing direction (frontways or backwards).
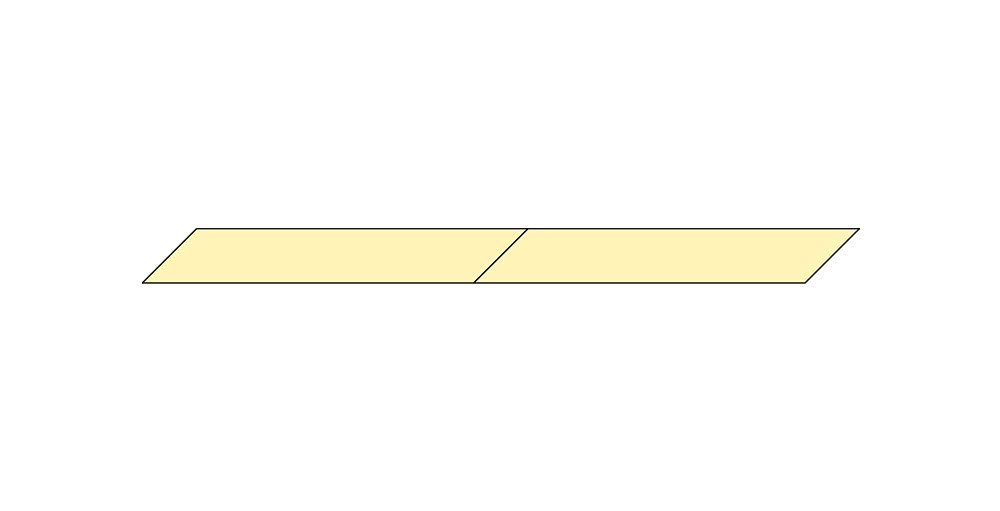
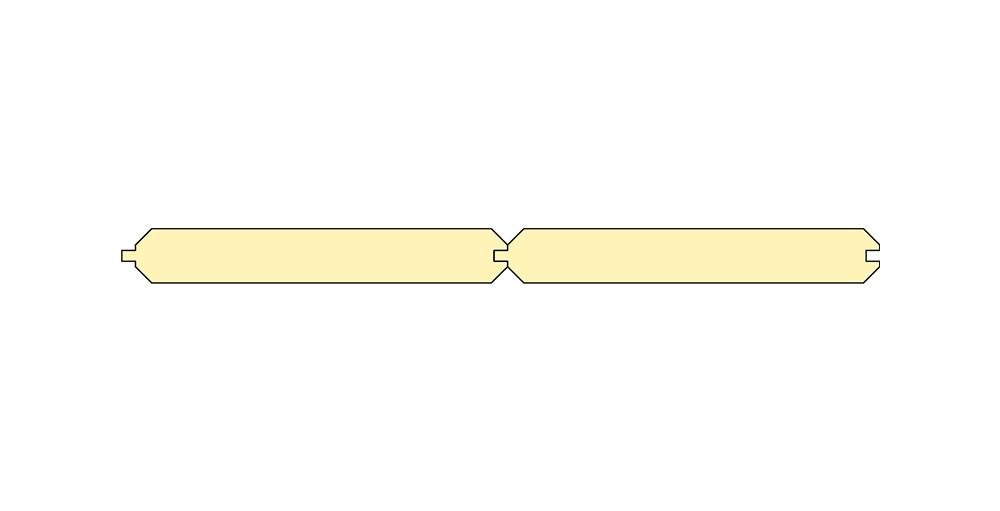
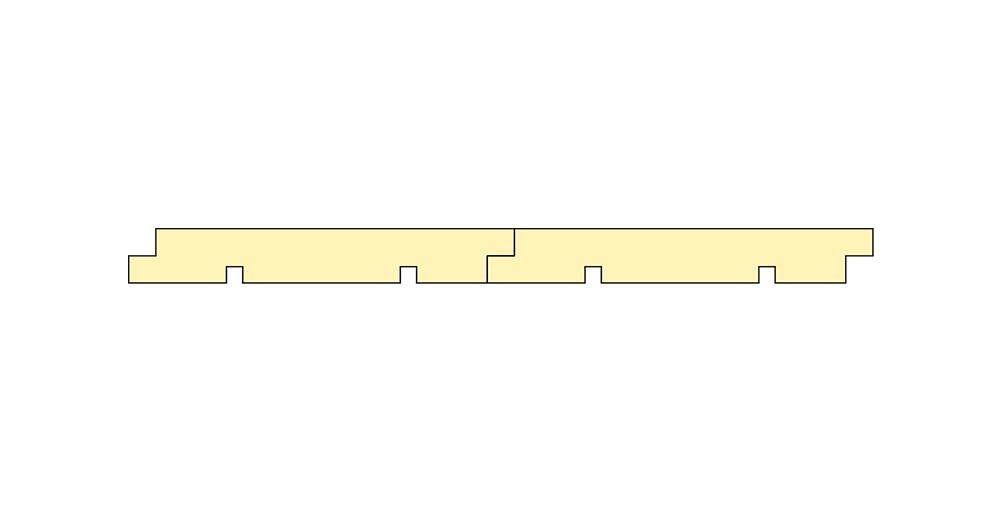
Position the Gates: With help, hold the first gate in place against the post, using timber wedges or spacers to set a 10mm clearance from both posts and the central meeting point (either 20mm total for a single gate or 30mm for a double) ground clearance of 30mm should also be allowed (adjust for terrain). For double gates, align both leaves to meet evenly in the centre, ensuring hinges face the correct side for the chosen swing direction. Avoid between-post installation wherever possible to ensure hinges remain adjustable for timber movement.
Fix Hinges to Posts: Mark hinge positions on the post (front or back face, depending on swing direction), ensuring the gate is level and square. Drill pilot holes and secure hinges with provided bolts or screws. Repeat for the second gate if applicable.
Check Swing: Open and close the gates to ensure smooth operation in the chosen direction (frontways or backwards) without dragging. Adjust hinges if needed to correct alignment. Avoid between-post setups, as they limit future hinge adjustments.
Install Hardware
Fit Centre Gate Stop: For double gates, install a centre gate stop (metal or timber) in the ground at the meeting point to prevent over-swinging and ensure proper latch alignment, positioned according to the swing direction. Ensure the stop placement supports hinge adjustability by avoiding between-post gate installation.
Attach Latches/Catches: Install the latch or catch mechanism on the gate(s), ensuring secure engagement. For double gates, one leaf typically has a fixed latch, while the other has a catch that engages the centre stop. Ensure latch placement suits the swing direction and avoids between-post constraints.
Install Drop Bolts: For double gates, fit drop bolts on both leaves to secure them to the ground when closed. Mark and drill holes in the ground (or use a PostKwik fast-drying concrete base) for the bolt to drop into, aligning with the swing direction.
Final Adjustments
Check Alignment: Ensure gates are level, swing freely in the chosen direction, and meet evenly (for double gates). Adjust hinges to correct any misalignment or sagging. Avoid between-post installation to maintain ease of hinge adjustments for timber movement.
Test Hardware: Confirm latches, catches, and drop bolts function smoothly and secure the gates properly in their open or closed positions.
Inspect for Movement: Account for natural timber movement (e.g., bowing or twisting). Adjustable hinges, enabled by placing posts in front or behind, allow for periodic realignment as the wood weathers.
Finishing Touches
Cover PostKwik: Backfill soil over the PostKwik fast-drying concrete to blend with the surrounding ground.
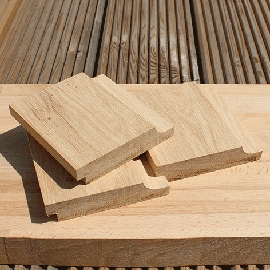
Apply Finish: UK Timber gates do not require treatment for durability. However, to maintain the original colour, apply a weather-resistant finish or stain. Without treatment, the timber will naturally turn grey over time.
Maintenance Tips
Periodically check and tighten hinge bolts, as timber movement may loosen them.
Adjust hinges as needed to correct for seasonal wood expansion or contraction, made easier by avoiding between-post installation.
Reapply finish every 1-2 years if maintaining the original colour is desired; otherwise, allow the timber to grey naturally.
Ensure drop bolts and latches remain free of debris for smooth operation.
Notes
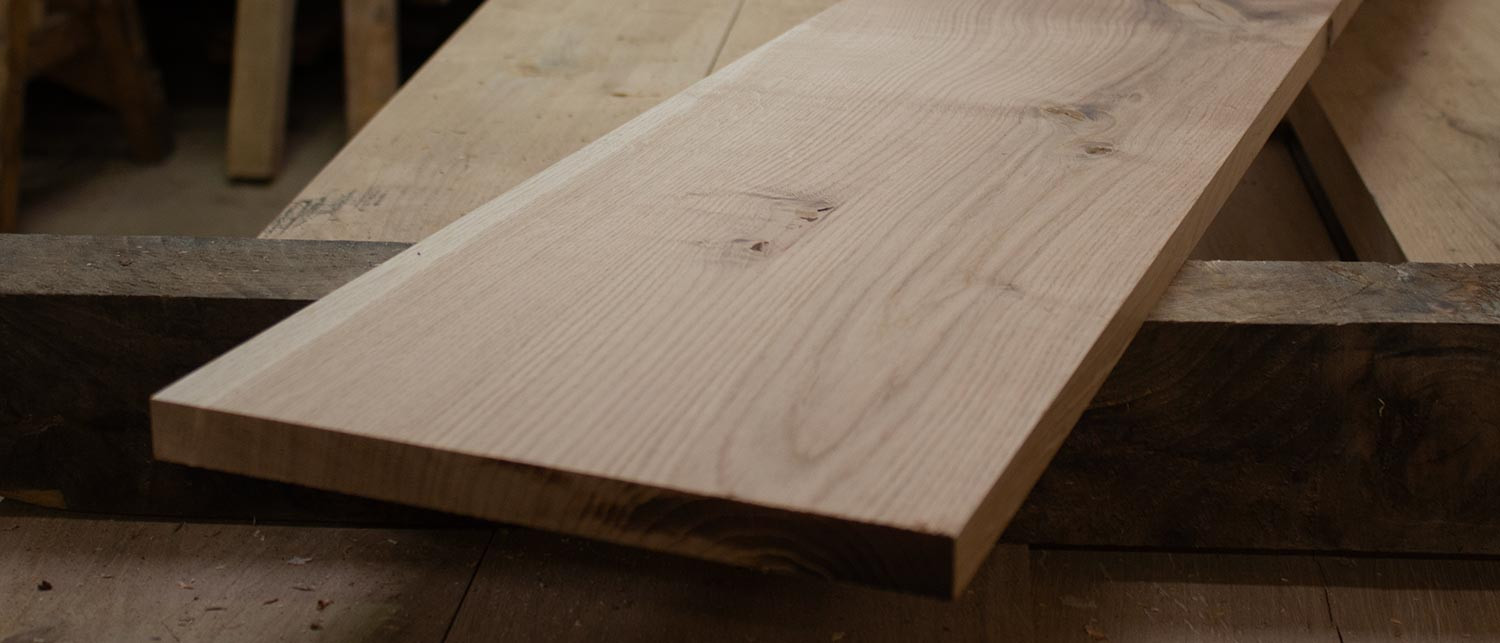
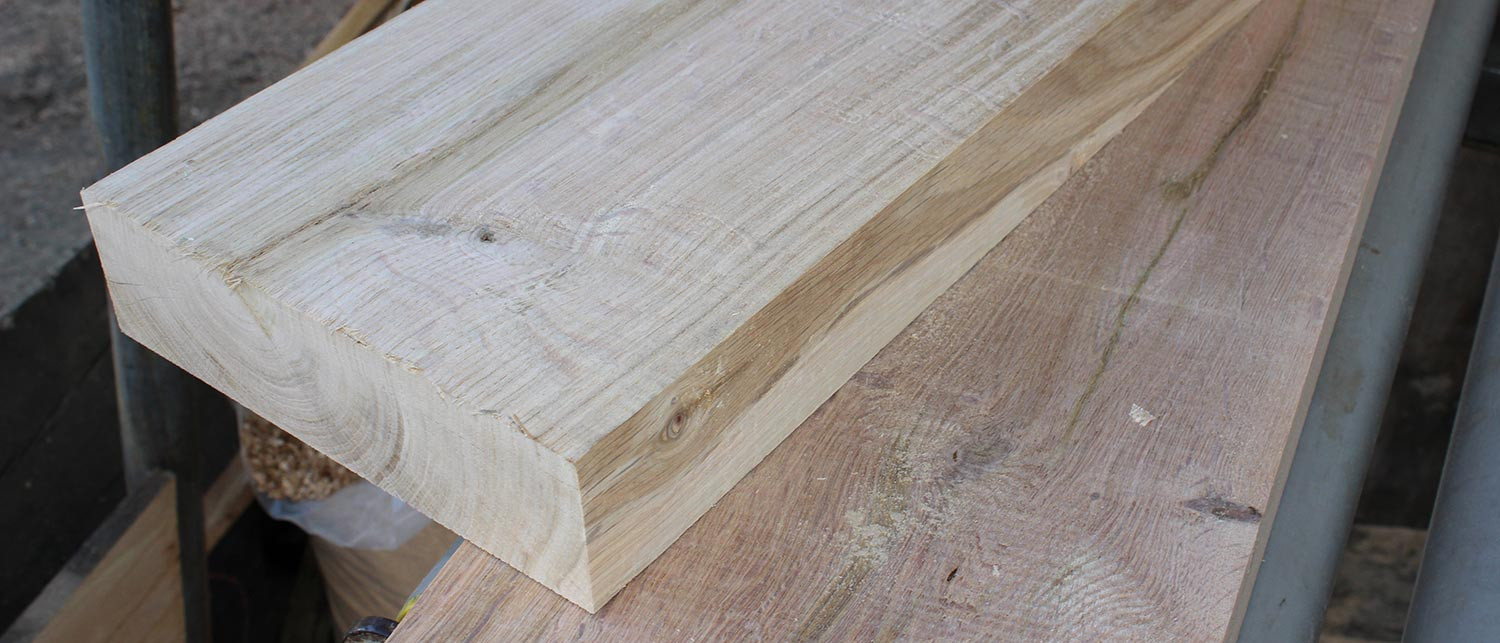
UK Timber Gates: UK Timber gates are manufactured with naturally durable materials that require no treatment for longevity. However, applying a weather-resistant finish is advised to preserve the original colour; otherwise, the timber will naturally turn grey over time.
Avoid Between-Post Installation wherever possible: Hanging gates between posts limits hinge adjustability, critical for accommodating natural timber movement. This restriction can also affect the ability to open gates frontways or backwards. If unavoidable due to site constraints, ensure precise alignment and accept potential limitations in adjustment and swing direction flexibility.
Swing Direction: Positioning posts in front or behind allows gates to open frontways or backwards. Ensure hinge and latch placement aligns with the chosen direction for smooth operation, and prioritize this placement to maintain hinge adjustability over between-post setups.
Safety: Wear gloves and goggles when digging, drilling, or cutting. Brace gates securely during installation to prevent tipping.
Local Conditions: Adjust post depth or PostKwik fast-drying concrete requirements based on soil type or frost line in your region.
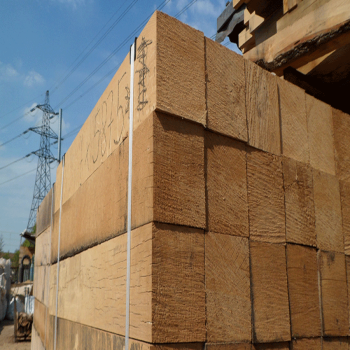
Storage: Gates should be installed within 10 days of delivery, if this is not possible, we recommend that gates are stored laying flat and supported sufficiently