




A door lining is the timber frame that lines the opening in a wall and carries the door. Get it plumb, square and...
Latest posts
-
 How to Install a Door Lining: A Step-by-Step GuideRead more
-
 How to Install Timber Cladding Outside and IndoorsRead more
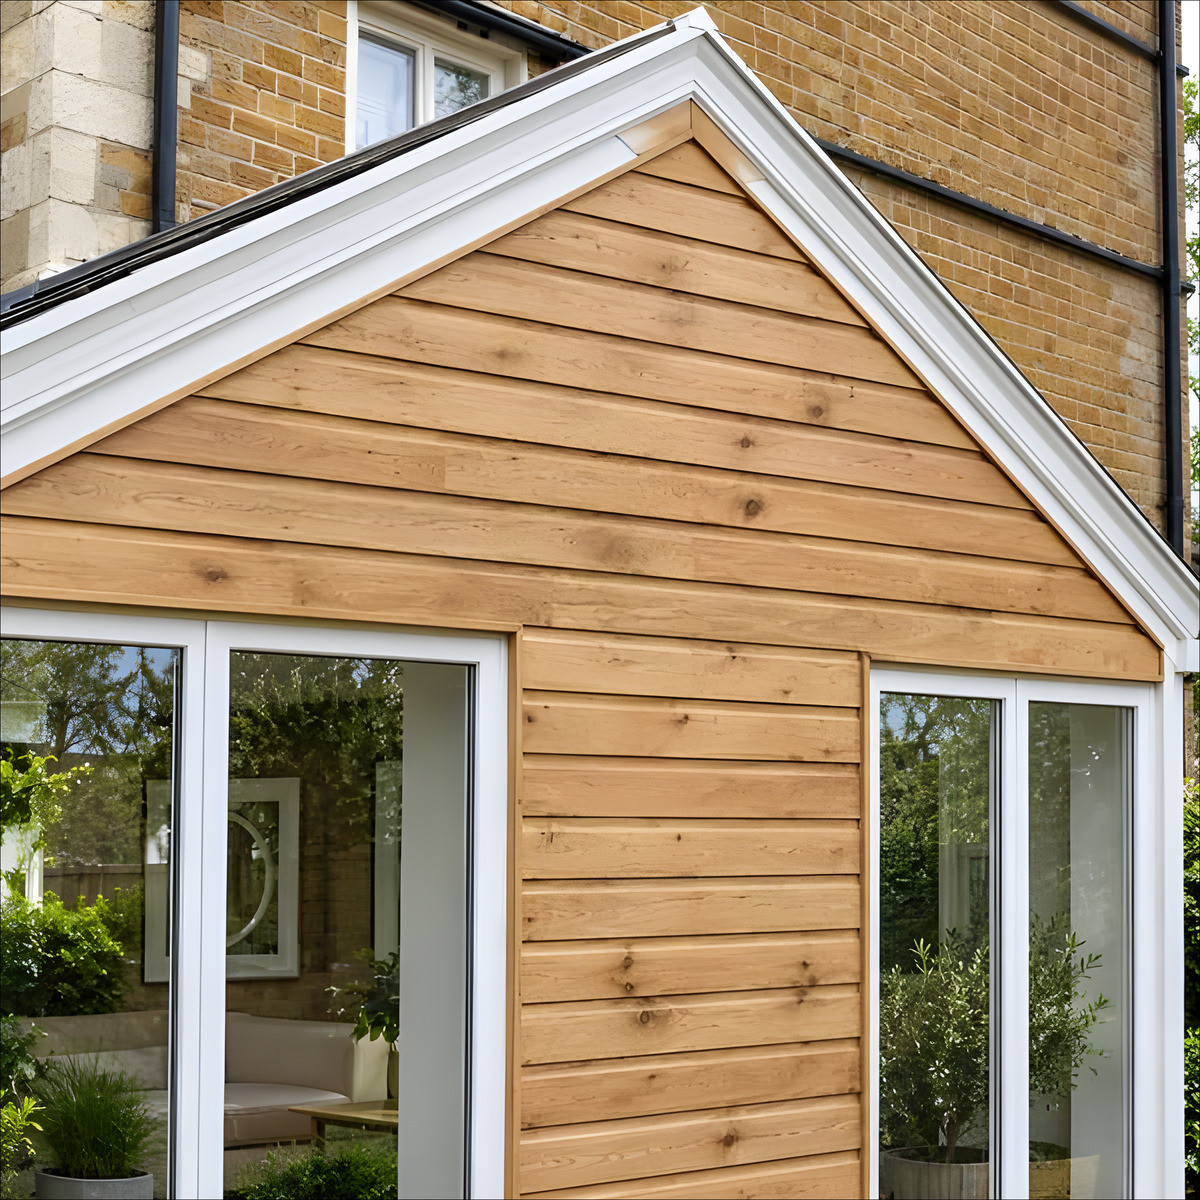
Outdoor and indoor timber cladding are related jobs with different rules. Outside you need a drained, ventilated...
-
 How to hang a wooden gate: posts, hinges and latchesRead more
Hanging a wooden gate is a sequence, not a single fitting. The posts have to be solid and plumb, the hinges have to...
-
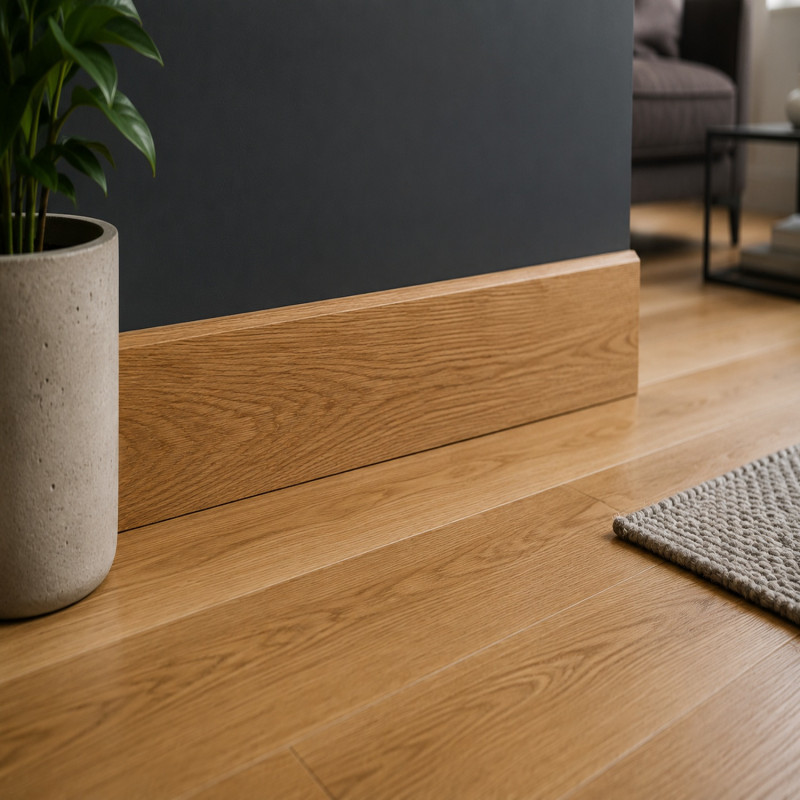 How to Install Skirting Boards: A Step-by-Step GuideRead more
Skirting boards finish a room. They cover the gap where the wall meets the floor, protect the plaster from knocks and...
-
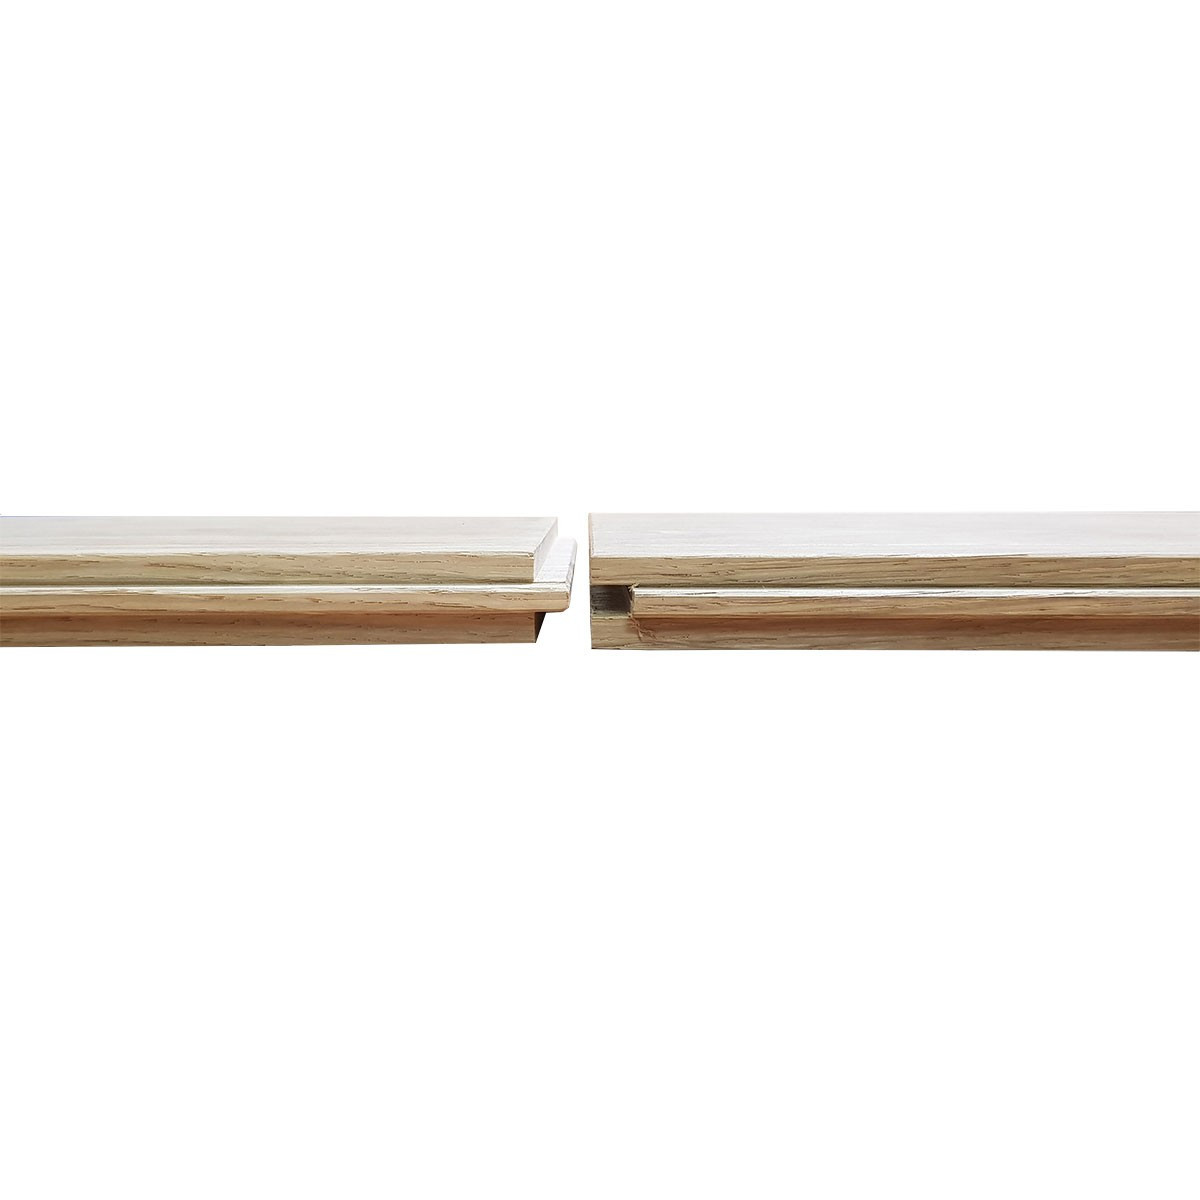 How to Lay a Solid Wood Floor: A Step-by-Step GuideRead more
A solid wood floor is one of the few things in a home that genuinely gets better with age. Laying one is a very...
-
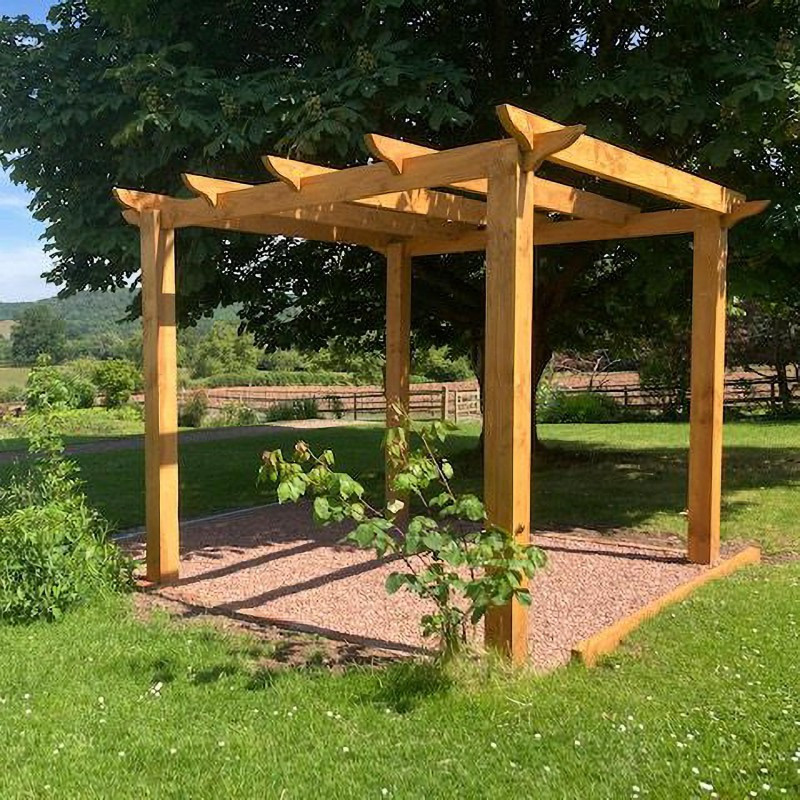 How to Plan a Pergola: Sizes, Post Spacing and Planning PermissionRead more
How to plan a pergola: choose pergola sizes, post spacing and supports, and check pergola planning permission rules...
-
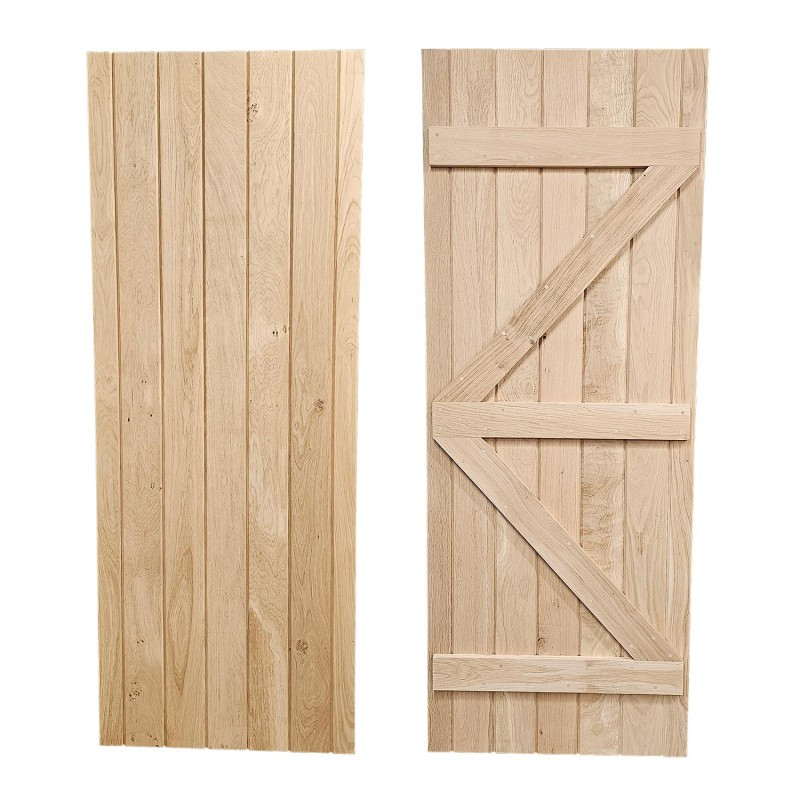 How to Measure for a Bespoke Oak DoorRead more
Learn how to measure for a door step by step, then design made to measure oak doors in our configurator. Sizes,...
-
 FSC® vs PEFC™ Certifications - What Do They Mean?Read more
When you’re choosing timber for your next project, you may notice products labelled with FSC® or PEFC™ certification....
-
 What are sawdust briquettes and are they the right product for your needs?Read more
Discover what Sawdust Briquettes are, how they compare to traditional firewood and whether they’re the right fuel for...
-
 How to Build A Raised Garden Bed: A Beginner's GuideRead more
Learn how to build a raised garden bed with our step-by-step guide. Discover the best timber for raised beds, what...
Blog categories
Search in blog
How to Install a Door Lining: A Step-by-Step Guide
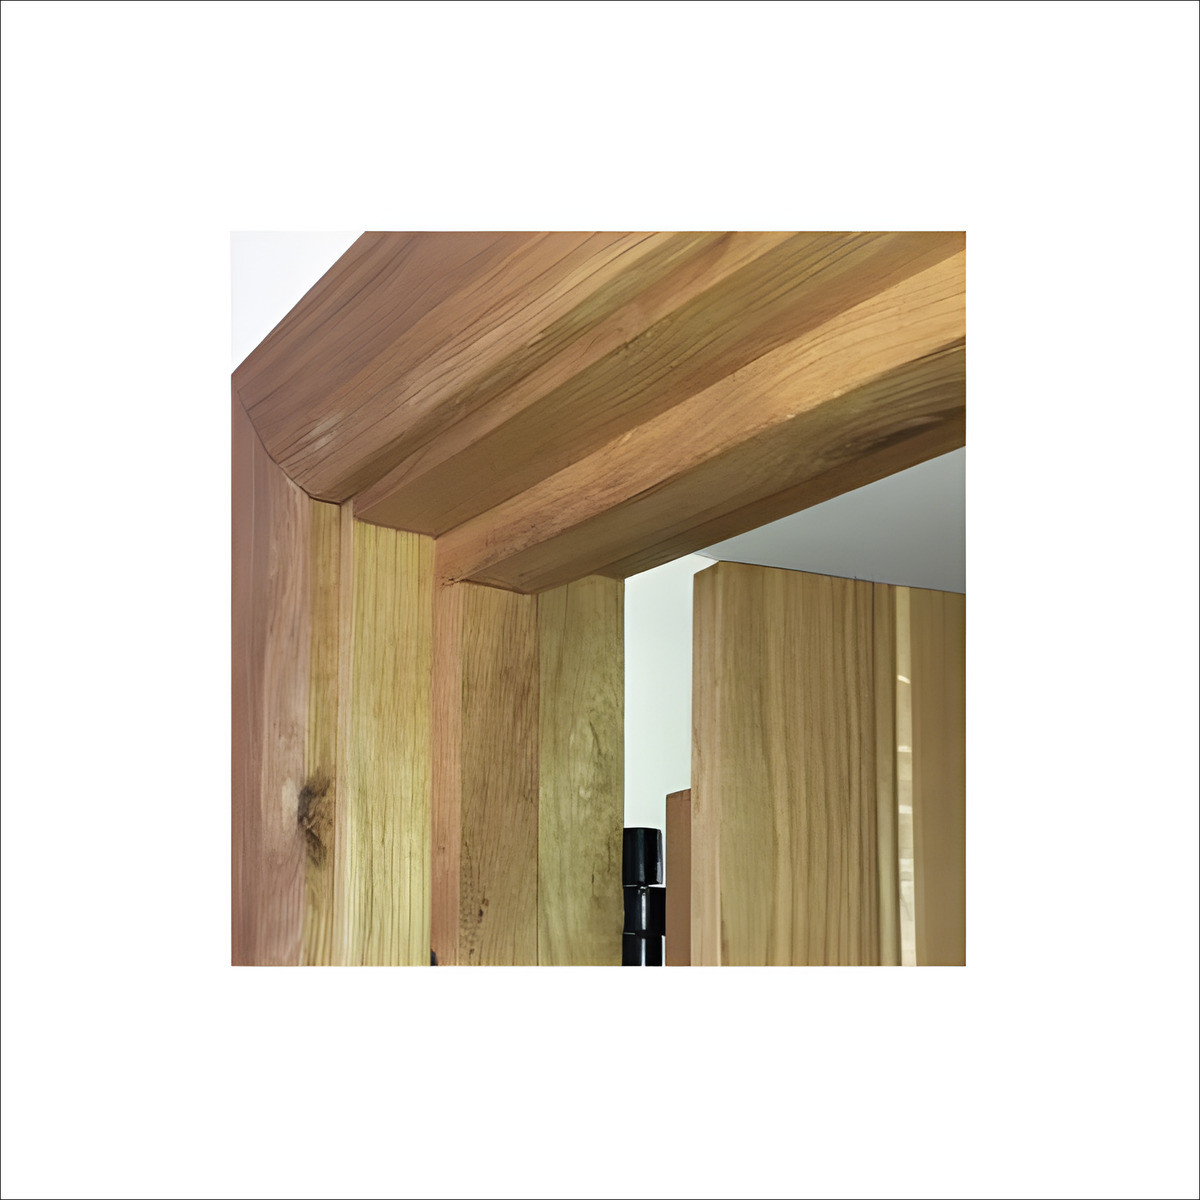
A door lining is the timber frame that lines the opening in a wall and carries the door. Get it plumb, square and flat, and the door hangs sweetly, closes on its stops and keeps an even gap all round. Rush it and no amount of planing will hide the mistake. This guide covers fitting a solid wood lining set, such as our Solid European Oak Door Lining Set with Stops, into a masonry or stud wall.
What's in a lining set
Our oak lining sets come as two legs (jambs) and a head, plus separate square-edge door stops. The single door set has two 2100 mm legs and a 1000 mm head and suits openings up to 2100 mm high and 1000 mm wide; the double set has three 2100 mm lengths for openings up to 2100 mm high and 2100 mm wide. Liners are 20 mm thick and come in widths of 95, 108, 125, 138, 145, 170, 195 and 220 mm, so they suit walls from 95 to 220 mm deep. Stops are 44 mm by 12 mm. Fixings are not included.
Tools and materials
- Tape measure, pencil and combination square
- Spirit level (a long one, ideally 1200 mm or more) and a straight edge
- Fine-toothed saw or mitre saw
- Drill/driver, masonry bits for block or brick walls
- Screws suitable for your wall, with plugs for masonry
- Packers or folding wedges
- Panel pins or oval nails for the stops, plus wood glue
- Treatex Hardwax Oil or your chosen finish
Step-by-step: how to fit a door lining
1. Measure the opening and the wall
Measure the width of the opening at the top, middle and bottom, and the height on both sides. Then measure the wall thickness, including plaster, in several places. Walls are rarely consistent, so note the largest figure. If you are buying a new door at the same time, our guide on how to measure for a bespoke oak door explains how the door, lining and opening relate.
2. Choose the liner width
Pick the liner width that matches your wall thickness so the lining finishes flush with the plaster on both faces. That gives the architrave a flat surface to sit on. Widths over 138 mm are laminated from two or three pieces of oak for stability. We don't offer cut-to-width liners, so if your wall falls between two stock widths, take the next width up and plane or pack it so it finishes flush with the plaster.
3. Work out the internal size
The inside of the lining needs to be the door size plus a small clearance gap at each side and at the head. Check the door maker's recommended gaps, and ask your fitter what gaps they work to. As a general trade practice, allow about 2–3 mm at the sides and head, plus an allowance under the door for the floor finish.
4. Cut the legs and head
Cut both legs to length so the head sits at the correct height above the finished floor level, not the bare screed or subfloor. Cut the head to give the internal width you worked out in step 3. The legs and head are square-cut, and are cut and joined on site by the fitter.
5. Assemble the frame
Join the head to the legs and check the assembled frame is square by measuring the diagonals; they should match. A temporary brace across the bottom of the legs helps keep the width the same while you lift it into place.
6. Set it in the opening
Stand the frame in the opening, centred on the wall so both edges line up with the plaster. Pack the head level first, then work down each leg.
7. Pack and fix the hinge side
Fix the hinge-side leg first. Put packers behind the leg at each hinge position and at top, middle and bottom, and check the leg is plumb on both faces with your level. Screw through the lining at the packers into the wall. Packing at the screws stops the lining bowing when you tighten them.
8. Fix the other leg and the head
Pack and fix the latch-side leg so the width is the same at top, middle and bottom. Lay a straight edge across the opening face to face to check the lining isn't twisted. Fix the head, packing out any gaps so it stays straight.
9. Hang the door, then fit the stops
Hang the door first, then fit the stops to suit it. Close the door, run the stops round it so the door closes flat against them, and fix with glue and pins. Fitting the stops last means they can follow the door exactly. Punch the pins below the surface and fill if you need to.
10. Fill, finish and fit the architrave
Fill screw holes, sand lightly and apply your finish. Our sets are supplied untreated; oil protects oak against moisture, spills and scratches, and for a natural, clear look we recommend Treatex Hardwax Oil. Then fit the architrave to cover the joint between the lining and the wall; see our range of hardwood architraves, including Solid European Oak Architrave.
Tips for a better finish
- Always set heights from the finished floor level.
- Check plumb on both faces of each leg, not just one.
- Put a packer behind every screw.
- Finish the lining, architrave and skirting with the same product so the timber tones match.
- Bring the set into the room under normal living conditions, once the plaster is dry, before fitting.
Frequently asked questions
What width of door lining do I need?
One that matches the full thickness of your wall, including plaster. Our oak sets come in widths from 95 to 220 mm.
Are fixings included?
No. Choose screws and plugs to suit your wall type.
Can I use the lining with a double door?
Yes. The double door set suits openings up to 2100 mm high and 2100 mm wide.
Should I fit the stops before hanging the door?
It is usually easier to hang the door first and fit the stops round it, so the door closes evenly along its whole length.
What's the difference between a lining set and a casing set?
A lining set is 20 mm thick with separate 44 mm by 12 mm stops. A casing set is 32 mm thick with a rebate that forms a built-in stop (standard 35 mm by 12 mm, Prestige 44 mm by 12 mm). See our Solid European Oak Door Casing Set. Our door casing guide follows soon.
Ready to start?
Browse our oak door casing and lining sets, or design your new door and see the price as you go in our timber door configurator.
Related posts
-
How to Build A Raised Garden Bed: A Beginner's Guide
Read more
-
What are sawdust briquettes and are they the right product for your needs?
Read more
-
FSC® vs PEFC™ Certifications - What Do They Mean?
Read more
-
How to Measure for a Bespoke Oak Door
Read more
-
How to Plan a Pergola: Sizes, Post Spacing and Planning Permission
Read more