




A door lining is the timber frame that lines the opening in a wall and carries the door. Get it plumb, square and...
Latest posts
-
 How to Install a Door Lining: A Step-by-Step GuideRead more
-
 How to Install Timber Cladding Outside and IndoorsRead more
Outdoor and indoor timber cladding are related jobs with different rules. Outside you need a drained, ventilated...
-
 How to hang a wooden gate: posts, hinges and latchesRead more
Hanging a wooden gate is a sequence, not a single fitting. The posts have to be solid and plumb, the hinges have to...
-
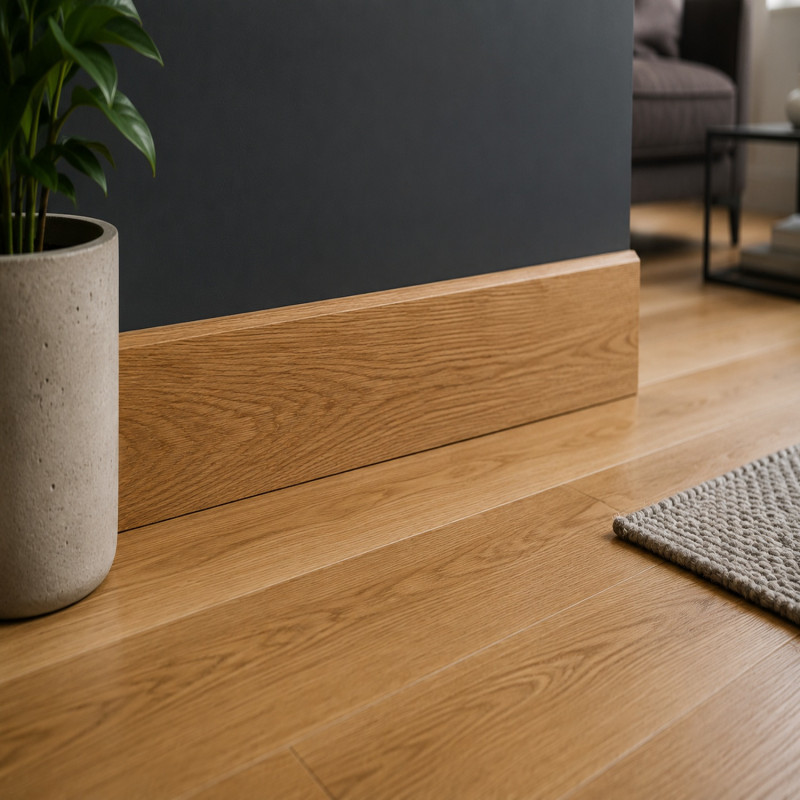 How to Install Skirting Boards: A Step-by-Step GuideRead more
Skirting boards finish a room. They cover the gap where the wall meets the floor, protect the plaster from knocks and...
-
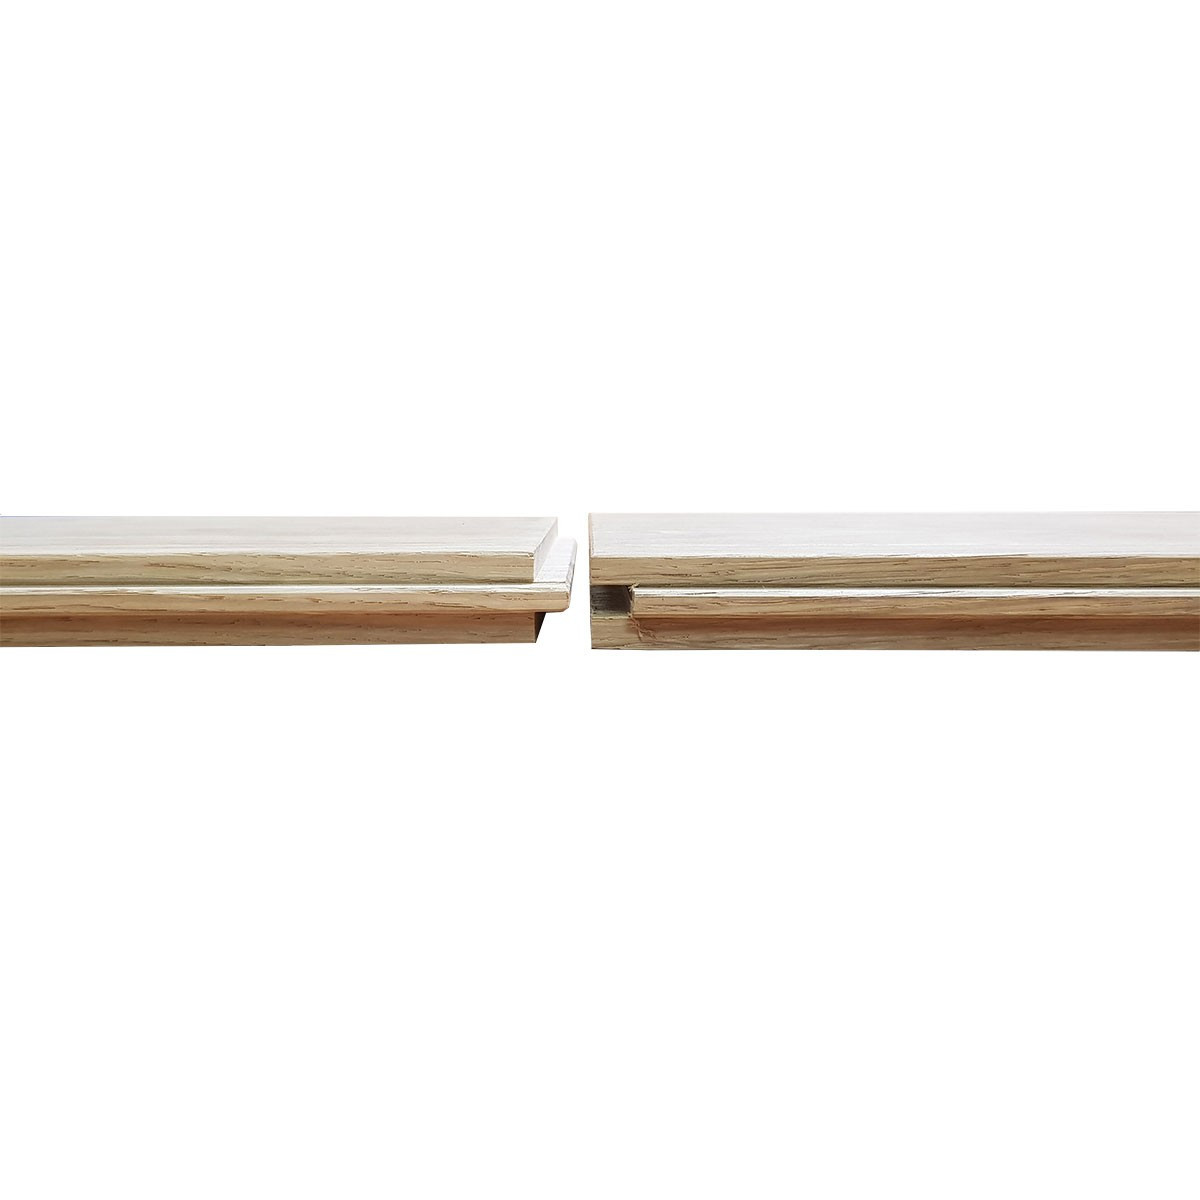 How to Lay a Solid Wood Floor: A Step-by-Step GuideRead more
A solid wood floor is one of the few things in a home that genuinely gets better with age. Laying one is a very...
-
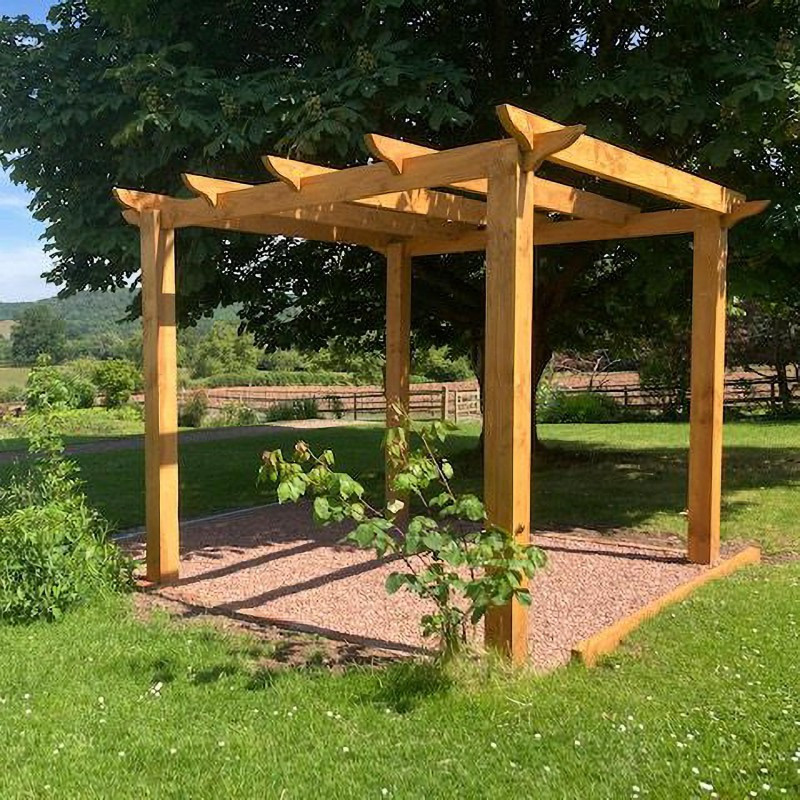 How to Plan a Pergola: Sizes, Post Spacing and Planning PermissionRead more
How to plan a pergola: choose pergola sizes, post spacing and supports, and check pergola planning permission rules...
-
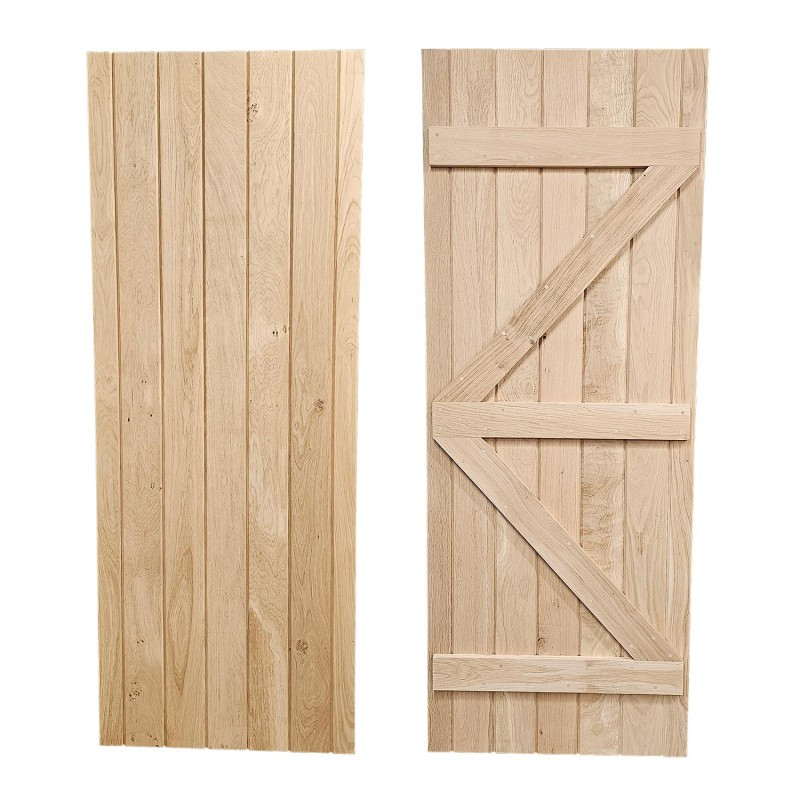 How to Measure for a Bespoke Oak DoorRead more
Learn how to measure for a door step by step, then design made to measure oak doors in our configurator. Sizes,...
-
 FSC® vs PEFC™ Certifications - What Do They Mean?Read more
When you’re choosing timber for your next project, you may notice products labelled with FSC® or PEFC™ certification....
-
 What are sawdust briquettes and are they the right product for your needs?Read more
Discover what Sawdust Briquettes are, how they compare to traditional firewood and whether they’re the right fuel for...
-
 How to Build A Raised Garden Bed: A Beginner's GuideRead more
Learn how to build a raised garden bed with our step-by-step guide. Discover the best timber for raised beds, what...
Blog categories
Search in blog
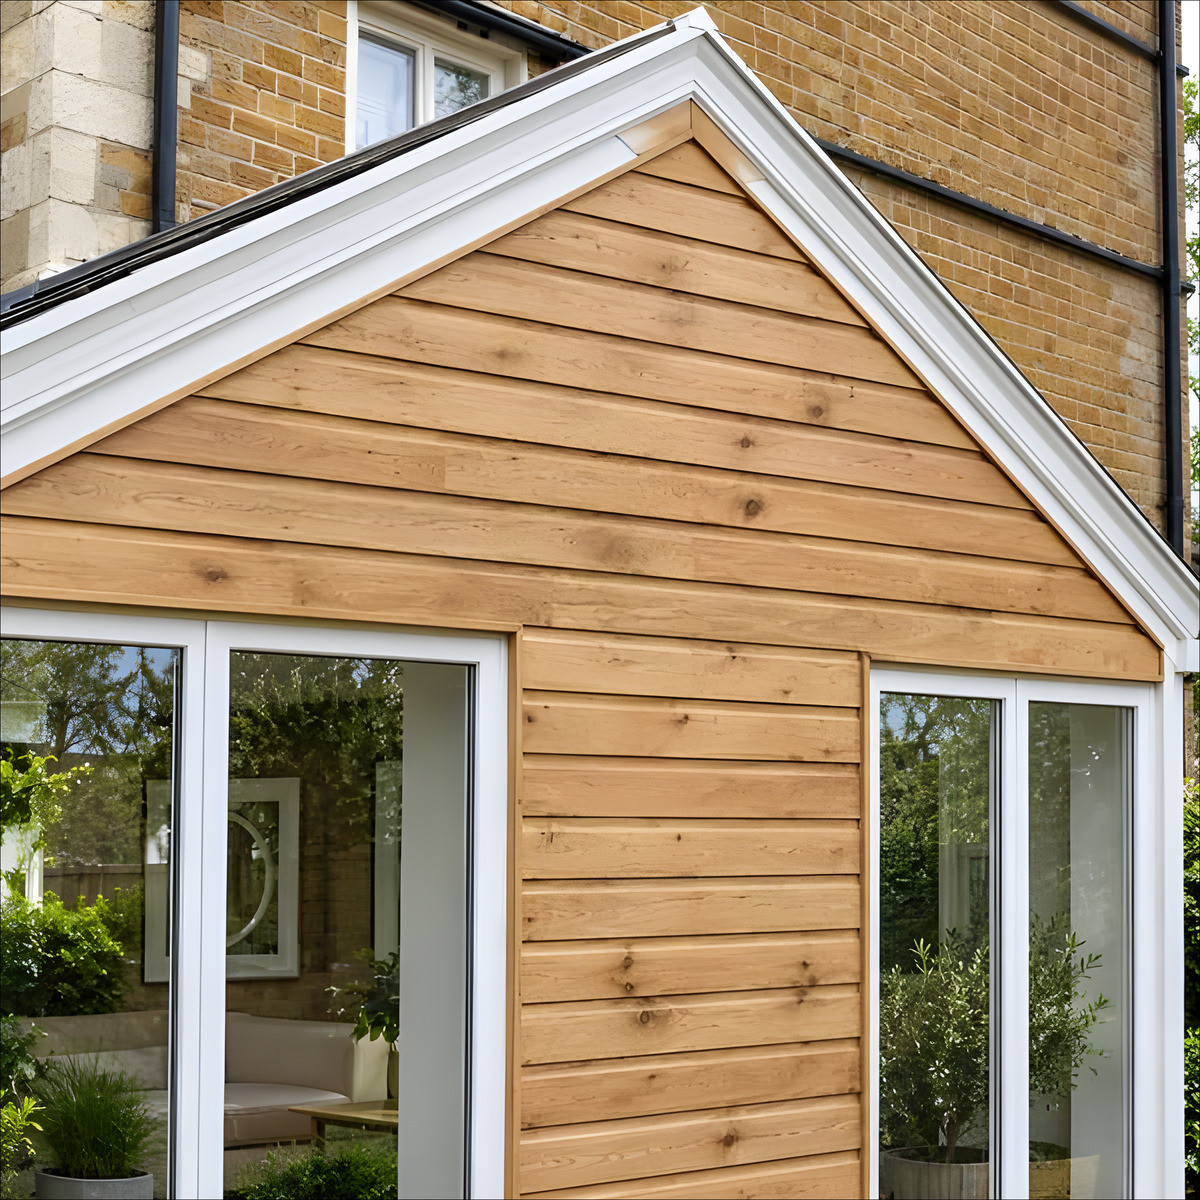
How to Install Timber Cladding Outside and Indoors
Outdoor and indoor timber cladding are related jobs with different rules. Outside you need a drained, ventilated cavity, weather-resistant fixings and a finish that can handle rain. Inside you focus on acclimatisation, a sound substrate, tidy movement gaps and an interior finish. This guide walks through both methods step by step.
Work out coverage with our cladding calculator, then browse Timber Cladding machined at our Corby sawmill.
Choose your profile and timber
Profiles (live at UK Timber): featheredge, rebated featheredge, shiplap, half lap, tongue and groove, V tongue and groove, board on board, channel siding, rain screen, shadow gap and waney edge.
Timber (from live pages): oak, English ash, Douglas fir and Thermowood on the cladding hub. Exterior timber cladding lists air dried oak and Douglas fir at 24 mm, Thermowood and treated featheredge (per m² ex VAT). Internal wood cladding lists kiln dried oak, English ash and Douglas fir at 20 mm, plus Thermowood (per m² ex VAT). Order cladding samples if you want to see grain in your own light.
Industry guidance from the Timber Decking and Cladding Association (TDCA) treats external cladding as a rainscreen over a drained, ventilated cavity — not as the primary weatherproof wall (TDCA cladding checklist; cavity FAQ; Handbook 2022 PDF). Follow your product sheet and local building requirements. We do not publish a separate UK Timber install PDF. Profile notes that do appear on our pages — featheredge overlap, rain-screen membrane, tongue uppermost on horizontal tongue-and-groove — are called out in the steps below.
How to install external timber cladding
For outdoor walls and elevations that see weather. Confirm quantities in the cladding calculator.
1. Prepare the wall
The wall must be sound, reasonably flat and able to take battens and cladding. Clear loose render, make good damage and mark services before you drill. External cladding is a rainscreen, not a replacement for the weather barrier behind it. TDCA’s Handbook covers basic build-ups for both timber-frame and masonry walls; detail differs by wall type, so do not copy one detail across every elevation (Handbook 2022 PDF).
2. Breather membrane (where needed)
TDCA guidance places a waterproof breather membrane behind the support battens, separating the external wet zone from the internal dry zone (cavity FAQ). Fit membranes to the maker’s instructions with laps shedding away from the wall. On our rain screen (splayed) cladding, a waterproof membrane behind the boards is essential, because the boards are spaced and do not interlock. For other external profiles, follow TDCA: a waterproof breather membrane sits behind the support battens and separates the external wet zone from the internal dry zone. Masonry and timber-frame build-ups differ in the Handbook — do not copy one wall detail across every elevation.
3. Battens and counter-battens
TDCA-style guidance on orientation:
- 1. Horizontal boards → vertical battens (drainage and airflow behind the cladding).
- 2. Vertical boards → horizontal battens plus vertical counter-battens so the cavity still drains top to bottom.
Use exterior battens capable of at least the same service life as the cladding and treated to Use Class 3 where softwood battens are used (BS 8417, per TDCA). We stock treated softwood battens in 4800 × 38 × 18 mm and 4800 × 50 × 25 mm, tanalised, sold as single lengths. Use the batten dimension that creates a drained cavity at least 25 mm deep, and typically 38 mm or more, as TDCA advises — an 18 mm cavity is below that industry floor. TDCA best practice spaces vertical battens at 600 mm centres maximum (400 mm maximum for high-moisture boards such as green oak); horizontal batten spacing with counter-battens is typically 200–400 mm depending on wind load (Handbook 2022 PDF; checklist).
4. Drained, ventilated cavity
Leave the cavity open at top and bottom. TDCA: cavity depth is set by batten thickness — at least 25 mm and typically 38 mm or more; ventilation openings need only a minimum 6 mm gap; fit insect mesh at openings and metal vermin mesh at the base near ground (checklist; cavity FAQ). We do not publish a cavity depth stricter than that TDCA floor. Keep the void clear of mortar and offcuts.
5. Exterior fixings
Use corrosion-resistant exterior fixings. TDCA lists austenitic stainless steel (and some high-performance coated steels) as suitable; aluminium, brass and electro-plated steel are unsuitable (TDCA fixings). Through-the-face fixing into the batten is the most secure method: two fixings at quarter-points for boards 100 mm or wider, one central fixing under 100 mm, minimum 20 mm from board ends (checklist). Some interlocking boards have their own fixing line — follow the product sheet. We stock stainless cladding and decking screws and A2 annular ring nails on cladding fixings. Separate A2 self-drilling cladding screws (M3 × 40, 50 and 60 mm) are listed as Timber Titan A2 self-drilling cladding screws. Follow TDCA for how many fixings and where they go, and follow the product sheet for any profile-specific fixing line. We do not publish a separate gauge-and-centres table for each external profile.
6. Movement, overlaps and expansion
Timber moves with moisture. Leave the overlaps and expansion clearances your profile needs — featheredge, shiplap, T&G, rain screen and board-on-board are not interchangeable. Do not treat one rebate or cover width as a universal rule. Featheredge listings commonly suggest at least a 35 mm overlap (50 mm is best). Check the fitting guidance for your exact rebated featheredge profile, and do not treat the rebate size as the installed overlap. TDCA: supply/use external cladding at about 16% ± 4% moisture content unless using green oak, which needs specialist detailing (checklist). That 16% ± 4% figure is TDCA industry guidance, not a UK Timber supply-moisture claim for oak, Douglas fir, Thermowood or treated softwood. Use the overlaps and clearances on the product page for the profile you are fitting. Fit horizontal tongue-and-groove boards tongue uppermost so moisture runs off.
7. Corners, openings and end grain
Plan corners, window and door reveals, and soffit junctions before you clad a full elevation. Keep flashings continuous so water sheds out of the cavity. Cut carefully; support thin or waney edges. Finish corners and openings with matching trim boards. If you cross-cut pressure-treated timber, recoating the cut ends with a brush-on end-grain preservative is both TDCA guidance and the instruction on our treated English softwood featheredge listing (see Owatrol PCD 91 and cladding treatments). For untreated oak, Douglas fir and Thermowood, use a finish suited to that timber — Treatex External Virgin Oak Oil, Treatex Douglas Fir Protection and Treatex UV Oil are the matching products named on our listings — from cladding treatments and wood oils and finishes.
8. Exterior finish
Many boards arrive unfinished. Apply an exterior oil, stain or coating suited to the species and exposure, and keep up the maintenance cycle. Factory-painted and treated featheredge options appear on our featheredge and exterior pages where listed.
How to install internal timber cladding
For feature walls, ceilings and indoor linings. Start from internal wood cladding.
1. Acclimatise
Bring boards into the room (or a similar heated space) before fixing and keep packs stickered and off a cold floor, for several days, so they can settle to the room. We do not publish a single acclimatisation time or target moisture content for kiln dried oak, English ash, Douglas fir or Thermowood.
2. Prepare the substrate
Walls and ceilings should be dry, clean and true. Check for pipes and cables. Internal work rarely needs a full rainscreen cavity, but every board still needs solid support — timber grounds, battens or a suitable boarded substrate. We do not publish a battens-versus-direct-fix rule per internal profile.
3. Interior fixings
Use corrosion-resistant pins, nails or screws suited to indoor cladding, clear of services, and match length to board thickness from cladding fixings. We do not publish a secret-nail versus face-fix rule per internal profile.
4. Movement gaps
Leave a small perimeter gap at walls, ceilings, skirtings and openings and cover it with trim. Interlocking profiles still need room at the edges even when board-to-board joints are tight. Do not force the last board. We do not publish a millimetre figure for that gap.
5. Corners, openings and finish
Mitre or butt corners neatly; use trim where a clean stop helps. Cut carefully around sockets. Most internal cladding is unfinished — use an interior finish from wood oils and finishes, then touch up cuts and filled holes.
Tips: external vs internal
- Outside: drained cavity, Use Class 3 battens, insect mesh, stainless/exterior fixings, weather finish.
- Inside: acclimatise first, secure flat substrate, lighter interior fixings, perimeter gaps, interior finish.
- Both: use the cladding calculator; order samples; finish cut end grain.
- Profile matters: do not copy featheredge overlaps onto T&G, rain screen or shadow gap.
- Cladding category prices are shown ex VAT unless stated otherwise.
Frequently asked questions
Do I need different cladding outside and inside?
Yes in practice. Use exterior timber cladding outdoors and internal wood cladding indoors. Live pages list different thicknesses and drying methods (for example 24 mm air dried options outside and 20 mm kiln dried options inside — check each page for the current range).
Which way should battens run?
TDCA: horizontal cladding on vertical battens; vertical cladding on horizontal battens with vertical counter-battens so the cavity drains (board-on-board is a noted exception in the Handbook where counter-battens may not apply in the same way) (Handbook 2022 PDF; checklist). Our featheredge, rebated featheredge and shiplap pages describe those boards as laid or fitted horizontally, which pairs with vertical battens under the TDCA rule above. We do not publish a conflicting batten-orientation note.
Can I use the cladding calculator?
Open the cladding calculator and pick your profile. Featheredge listings, including treated English softwood featheredge, already link into it.
Do you stock fixings and treatments?
Yes: cladding fixings, cladding treatments and wood oils and finishes.
Can I order samples first?
Yes — cladding samples.
What species do you machine for cladding?
Oak, English ash, Douglas fir and Thermowood are named on the live Timber Cladding hub. Each profile page lists what is available for that profile.
Is rain screen or board-on-board installed like featheredge?
No. Each profile has its own cover, joint and fixing approach — use that product page and the calculator, not featheredge overlaps. Rain screen boards are spaced, not interlocked: our rain screen category says a waterproof membrane behind them is essential. TDCA: on board-on-board, the fixing for the outer board must never pass through the underside board (TDCA fixings).
Ready to clad your wall?
Open the cladding calculator, then shop exterior timber cladding or internal wood cladding, or start from Timber Cladding. Add samples, fixings and finishes from wood oils and finishes or cladding treatments. Questions? Call 01536 267107. Related tools: design tools.
Related posts
-
How to Build A Raised Garden Bed: A Beginner's Guide
Read more
-
What are sawdust briquettes and are they the right product for your needs?
Read more
-
FSC® vs PEFC™ Certifications - What Do They Mean?
Read more
-
How to Measure for a Bespoke Oak Door
Read more
-
How to Plan a Pergola: Sizes, Post Spacing and Planning Permission
Read more