




A railway sleeper retaining wall is one of the simplest ways to level a sloping garden, hold back a bank or make a...
Latest posts
-
 How to Build a Railway Sleeper Retaining WallRead more
-
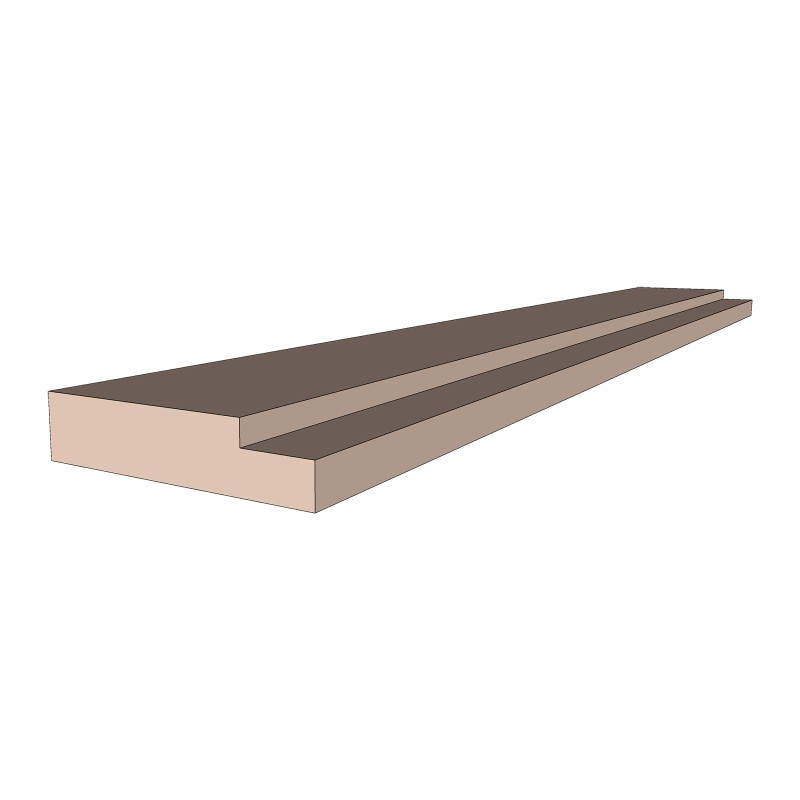 How to Install a Door Casing: A Step-by-Step GuideRead more
A door casing is the timber frame that lines a wall opening and carries the door, with a rebate that forms a built-in...
-
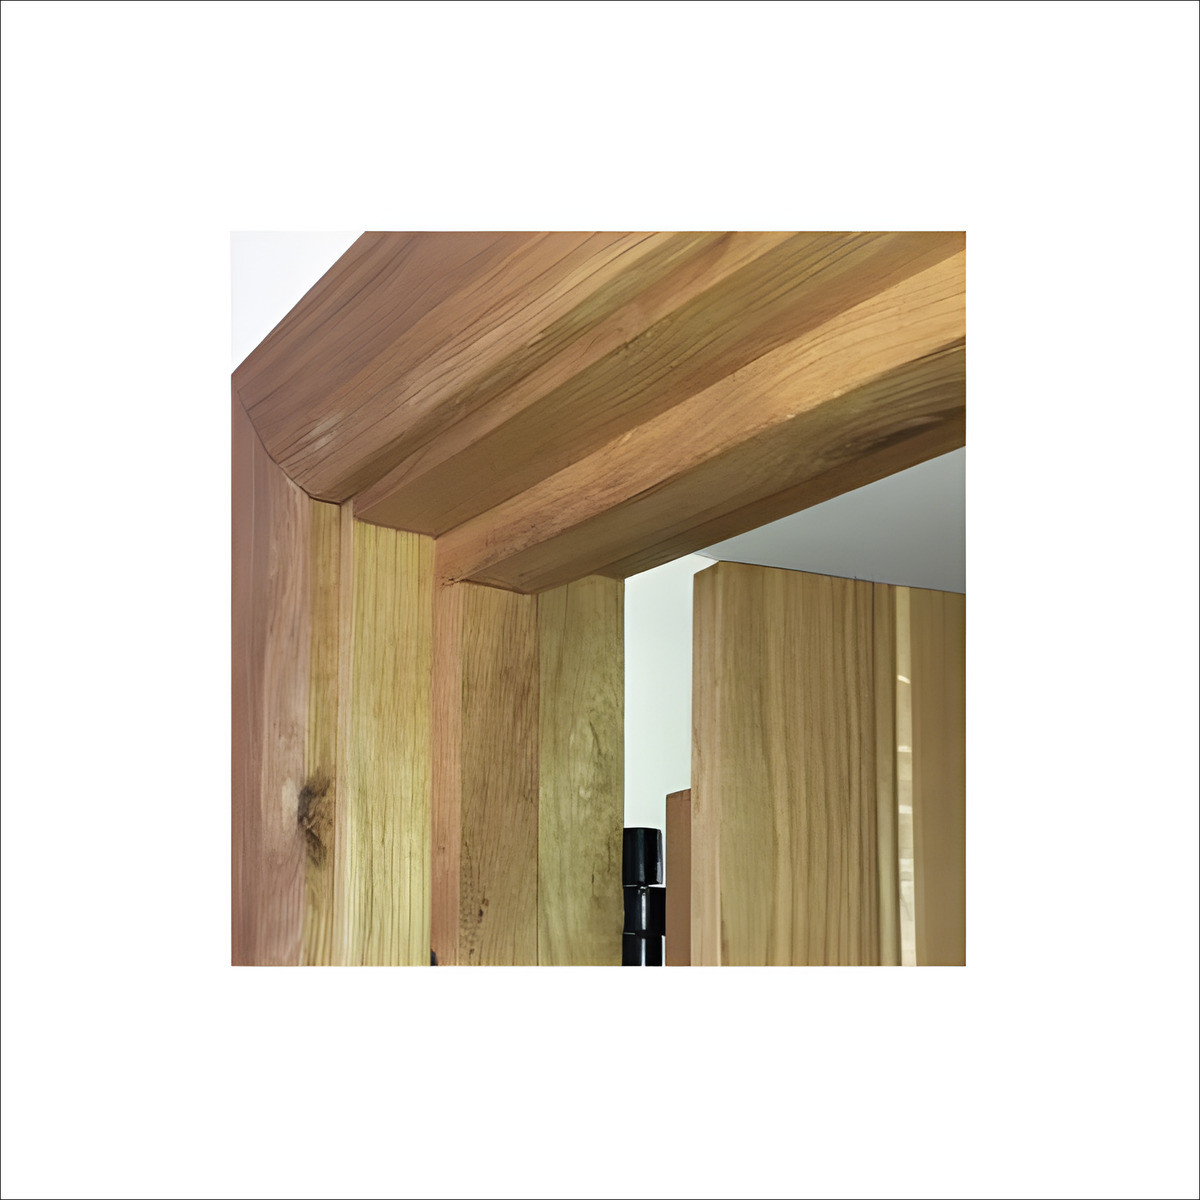 How to Install a Door Lining: A Step-by-Step GuideRead more
A door lining is the timber frame that lines the opening in a wall and carries the door. Get it plumb, square and...
-
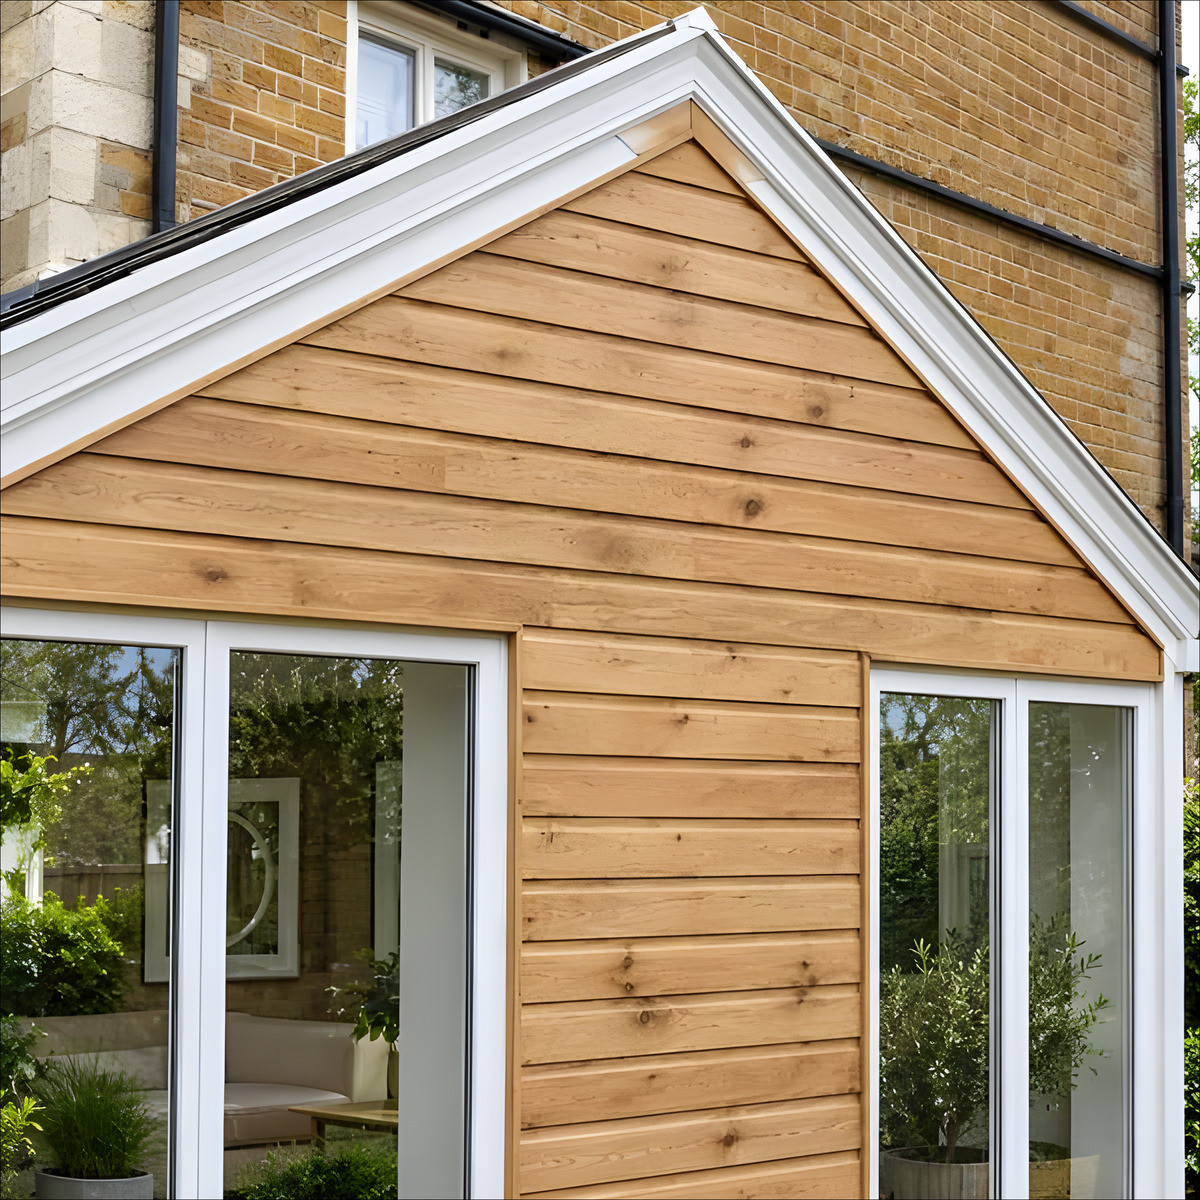 How to Install Timber Cladding Outside and IndoorsRead more
Outdoor and indoor timber cladding are related jobs with different rules. Outside you need a drained, ventilated...
-
 How to hang a wooden gate: posts, hinges and latchesRead more
Hanging a wooden gate is a sequence, not a single fitting. The posts have to be solid and plumb, the hinges have to...
-
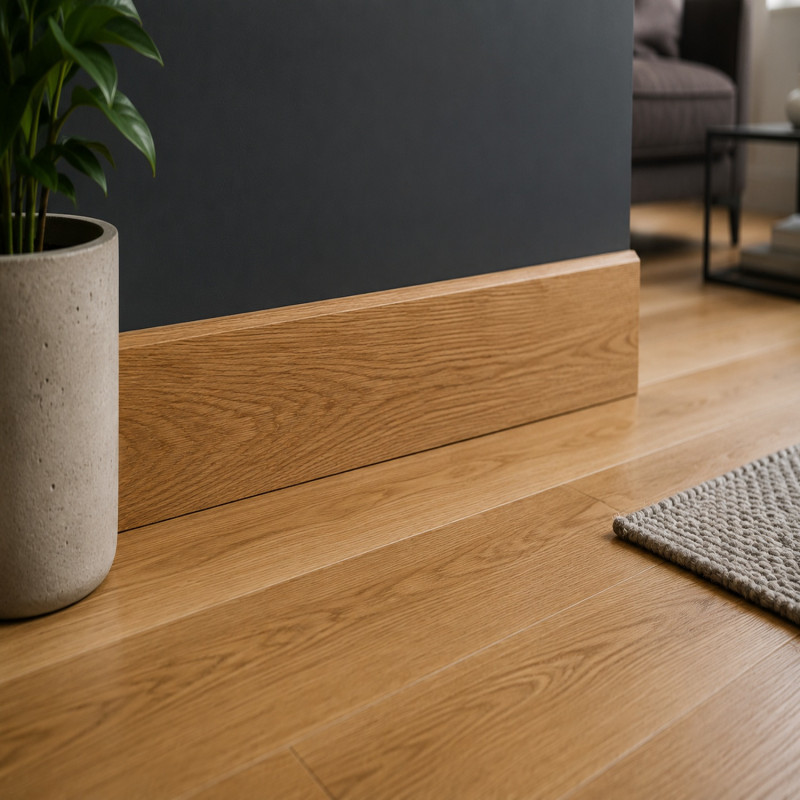 How to Install Skirting Boards: A Step-by-Step GuideRead more
Skirting boards finish a room. They cover the gap where the wall meets the floor, protect the plaster from knocks and...
-
 How to Lay a Solid Wood Floor: A Step-by-Step GuideRead more
A solid wood floor is one of the few things in a home that genuinely gets better with age. Laying one is a very...
-
 How to Plan a Pergola: Sizes, Post Spacing and Planning PermissionRead more
How to plan a pergola: choose pergola sizes, post spacing and supports, and check pergola planning permission rules...
-
 How to Measure for a Bespoke Oak DoorRead more
Learn how to measure for a door step by step, then design made to measure oak doors in our wooden door designer....
-
 FSC® vs PEFC™ Certifications - What Do They Mean?Read more
When you’re choosing timber for your next project, you may notice products labelled with FSC® or PEFC™ certification....
Blog categories
Search in blog
How to Build a Railway Sleeper Retaining Wall
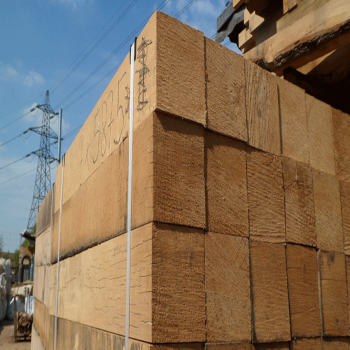
A railway sleeper retaining wall is one of the simplest ways to level a sloping garden, hold back a bank or make a raised terrace. Sleepers are heavy, chunky and easy to cut, and they look at home in almost any garden. The wall still has to hold back a lot of weight of wet soil, so it pays to plan it properly. This guide covers choosing the right sleepers, setting out, building and fixing the courses, and draining the back of the wall.
Which sleepers to use
Most of our railway sleepers can be used for landscaping, but they behave differently:
- New eco-treated softwood. The New 200 x 100 Green Treated Softwood Railway Sleepers are pressure treated with Tanalith E, and the New 200 x 100 Brown Eco Treated Softwood Railway Sleeper is treated with Tanatone. Both are lightweight, easily worked and take Timber Titan screws without pre-drilling. See all new eco-treated railway sleepers.
- New untreated oak and Douglas fir. The New Untreated European Oak Railway Sleeper needs no treatment and ages to a silver grey, but it is very hard, so a pilot hole may be needed for screws. The New Untreated British Douglas Fir Railway Sleeper is left untreated because its high resin content acts as a natural preservative. See new untreated railway sleepers.
- Reclaimed. Reclaimed creosoted railway sleepers are a traditional choice for retaining walls, storage bays and path edging. Reclaimed untreated railway sleepers suit areas where creosoted sleepers are not acceptable, and purified reclaimed railway sleepers were originally creosoted but have been purified and declared non-hazardous for fencing and garden use. Reclaimed sizes vary slightly, so allow for that when you stack them.
Which size? For a retaining wall, 200 x 100 mm or bigger is recommended, such as the New 200 x 100 Green Treated Softwood Railway Sleepers. The thinner 200 x 50 mm sleepers can also be used for a low retaining wall: they are lighter and not as strong, but they do the job. They also suit edging, borders and low steps. If you want more margin, step up to a thicker sleeper such as the New 250 x 125 Green Treated Softwood Railway Sleepers; our new oak and Douglas fir sleepers also come in 250 x 125. Consider 250 x 125 sleepers (and posts) for walls approaching 800 mm, or on clay or wet ground. A heavier sleeper does not replace the posts, fixings and drainage below.
Before you start
- Height. Keep a DIY sleeper wall to about 800 mm of retained soil, roughly four courses of 200 mm sleepers. Between 800 mm and 1 m, get advice before you build, because the wall may need extra anchoring back into the bank. LABC advises not to build a retaining wall higher than one metre without involving a structural engineer, and to get a competent structural engineer's advice if you are removing large amounts of earth. Get a structural engineer's advice, whatever the height, if the wall will hold back a drive, parking area or building, very wet ground, or soft or unstable ground.
- Planning. In England, a wall usually needs no planning permission if it is no more than 1 m high next to a road used by vehicles (or its footpath), or 2 m elsewhere, and the property is not a listed building or under an Article 4 direction. This is the guidance for England; elsewhere in the UK, check with your council.
- Near a road. A retaining wall within 3.7 m of a street needs approval under the Highways Act 1980, from the local authority or the highway authority.
- Boundaries. If the wall is on or near the boundary, talk to your neighbour first. A wall on the boundary may count as a party fence wall, and you may have to notify the adjoining owner.
Tools and materials
- Railway sleepers, plus extra sleepers to cut into posts
- Timber Titan Wood Screws 200mm for 100 mm thick sleepers, 250mm for 125 mm thick sleepers, or 300mm for 150 mm thick sleepers and for screwing 200 mm high courses together (see railway sleeper fixings)
- Spade, string line, pegs, tape measure and a long spirit level
- MOT Type 1 or gravel for the base, and gravel or clean stone for drainage behind the wall
- A permeable (geotextile) membrane, and a perforated drainage pipe for longer or taller walls
- Post concrete, plus a little gravel for the bottom of each post hole
- End-grain preservative for any cut ends of treated sleepers
- Chainsaw or large saw for cutting, a heavy-duty drill/driver, gloves and safety boots
Step-by-step: how to build a sleeper retaining wall
1. Plan the wall and set out the line
Decide where the wall will run and how high it will be, then work out how many courses you need. Mark the line with pegs and a string line. If you need sleepers cut to length, we offer a cross-cutting service; it is not a precise cut, but is generally more than adequate for garden use.
2. Dig the trench and prepare the base
Dig a trench along the line, about 100 mm wider than the sleepers. Make it deep enough for 100 mm of compacted MOT Type 1 (or compacted gravel) plus about half the height of the first sleeper, so the first course sits partly below ground. This stops soil washing out under the wall. Compact the base and check it is level along its length.
3. Set the posts
A sleeper retaining wall needs vertical posts on the soil side to hold the courses back. The simplest posts are offcuts of the same sleepers stood on end; a 100 x 100 mm treated post is the smallest to use, and only on low walls up to about 600 mm. Set a post at each end, at every joint between sleepers, and no more than 1 m apart along the wall (1.2 m is enough for a two-course wall up to about 400 mm). Put at least as much post in the ground as there will be wall above it, and never less than 400 mm: for an 800 mm wall, use posts about 1.6 m long with 800 mm below ground. Dig each post hole about 300 mm square (or round) and slope the top of the concrete away from the post. Set each post in concrete on a layer of gravel at the bottom of the hole, so water can drain away from the foot of the post. Put the cut end of a sleeper post at the top, never in the ground, and brush end-grain preservative onto cut ends of treated sleepers. Check every post is plumb and in line with the string before the concrete sets, and leave it at least 24 hours before fixing to it.
4. Lay the first course
Lay the first row of sleepers on the base, tight to the posts. Check it is level along its length and across its width. Take your time here: every course above follows this one.
5. Build up the courses
Stack the next courses, staggering the joints like brickwork so no two joints line up. Check each course is level before fixing it.
6. Fix the sleepers
Screw each sleeper to every post it touches with two screws; where two sleepers meet at a post, give each end its own two screws. Use a screw about twice as long as the sleeper is thick, so it goes right through and well into the post: Timber Titan 200mm for 100 mm thick sleepers, 250mm for 125 mm thick and 300mm for 150 mm thick. If you also screw each course down into the one below, near each end of every sleeper, the screw has to pass through the sleeper's full height and still grip the one below, so use 300mm screws for 200 mm high sleepers. Our eco-treated softwood sleepers take Timber Titan screws without pre-drilling; oak is very hard, so a pilot hole may be needed.
7. Drain the back of the wall
Water trapped behind a retaining wall adds a great deal of pressure. Backfill at least the first 300 mm behind the sleepers with gravel or clean stone so water can drain away rather than pushing on the wall. Lay a permeable geotextile membrane between the soil and the gravel: it lets water through but stops soil washing into the gravel and clogging it. If drainage clogs, water pressure can roughly double the load on the wall, which is why the gravel and membrane matter. Don't use a waterproof sheet here. On longer or taller walls, or in wet ground, lay a perforated drainage pipe at the bottom of the gravel, falling to one end so the water has somewhere to go. You can also leave a few 5 to 10 mm gaps between sleepers in the bottom course so water can weep out through the face.
8. Backfill and finish
Backfill the soil in layers of about 150 mm, firming each one as you go, and finish the ground behind the wall so it slopes away from the top. Wear gloves when handling sleepers, especially reclaimed ones, which may contain fragments of metal.
Tips for a better wall
- Allow for how heavy sleepers are. Our purified reclaimed full lengths are about 68 kg each, so plan handling and get help.
- Set out from the lowest point of the slope and keep courses level, stepping the wall down if the ground falls.
- Planed sleepers are smaller than their nominal size (about 10 mm off each dimension on oak, 6 mm on Douglas fir), so don't mix planed and sawn sleepers in one course.
- For a seat-height wall people will sit on, choose new untreated, reclaimed untreated or eco-treated sleepers, not creosoted ones.
Frequently asked questions
How high can I build a sleeper retaining wall myself?
Keep a DIY sleeper wall to about 800 mm and get advice between 800 mm and 1 m. LABC advises involving a structural engineer for any retaining wall over one metre. Get an engineer's advice whatever the height if the wall holds back a drive, a building or very wet ground.
Can I use reclaimed creosoted sleepers?
Yes, for a retaining wall that people will not touch often. UK law does not allow creosote-treated wood to be used in gardens, parks or play areas where there is a risk of frequent skin contact, or for garden furniture, toys or containers for growing plants. Wear gloves when handling them. For raised beds, seating or play areas, use new untreated, reclaimed untreated or eco-treated sleepers instead. Our Purified Reclaimed European Softwood Railway Sleeper is declared non-hazardous for fencing and garden use.
How long will a sleeper wall last?
It depends on the timber. Our new untreated European oak sleepers are known to last up to 50 years in the right conditions, British Douglas fir in most cases lasts for decades, and our eco-treated range page states that the treatment lasts around 20 years on average.
Do I need to pre-drill?
Not for our green or brown eco-treated softwood sleepers. Oak is very hard, so a pilot hole may be needed.
Do I need planning permission?
Usually not in England if the wall is no more than 1 m next to a road or 2 m elsewhere, and the property is not listed. Within 3.7 m of a street you also need approval under the Highways Act 1980.
Can I build a raised bed with sleepers too?
Yes. See our guide on how to build a raised garden bed.
Ready to start?
Browse our full range of railway sleepers, including railway sleeper pallets for larger projects, or call our sales team on 01536 267107 for help choosing.
Related posts
-
 How to Build A Raised Garden Bed: A Beginner's Guide
Read more
-
 What are sawdust briquettes and are they the right product for your needs?
Read more
-
FSC® vs PEFC™ Certifications - What Do They Mean?
Read more
-
How to Measure for a Bespoke Oak Door
Read more
-
How to Plan a Pergola: Sizes, Post Spacing and Planning Permission
Read more